Microsoft Azure provides a powerful cloud platform for deploying virtual machines (VMs) to run applications, host websites, or test software in a scalable environment.
What Is a Virtual Machine (VM)?
A Virtual Machine (VM) is a software-based emulation of a physical computer that runs an operating system (OS) and applications just like a real machine. It operates in an isolated environment, allowing multiple VMs to run on a single physical computer or server while sharing its resources (CPU, memory, storage, etc.). In this guide, we’ll walk you through the steps to create a virtual machine in Azure using the Azure Portal.
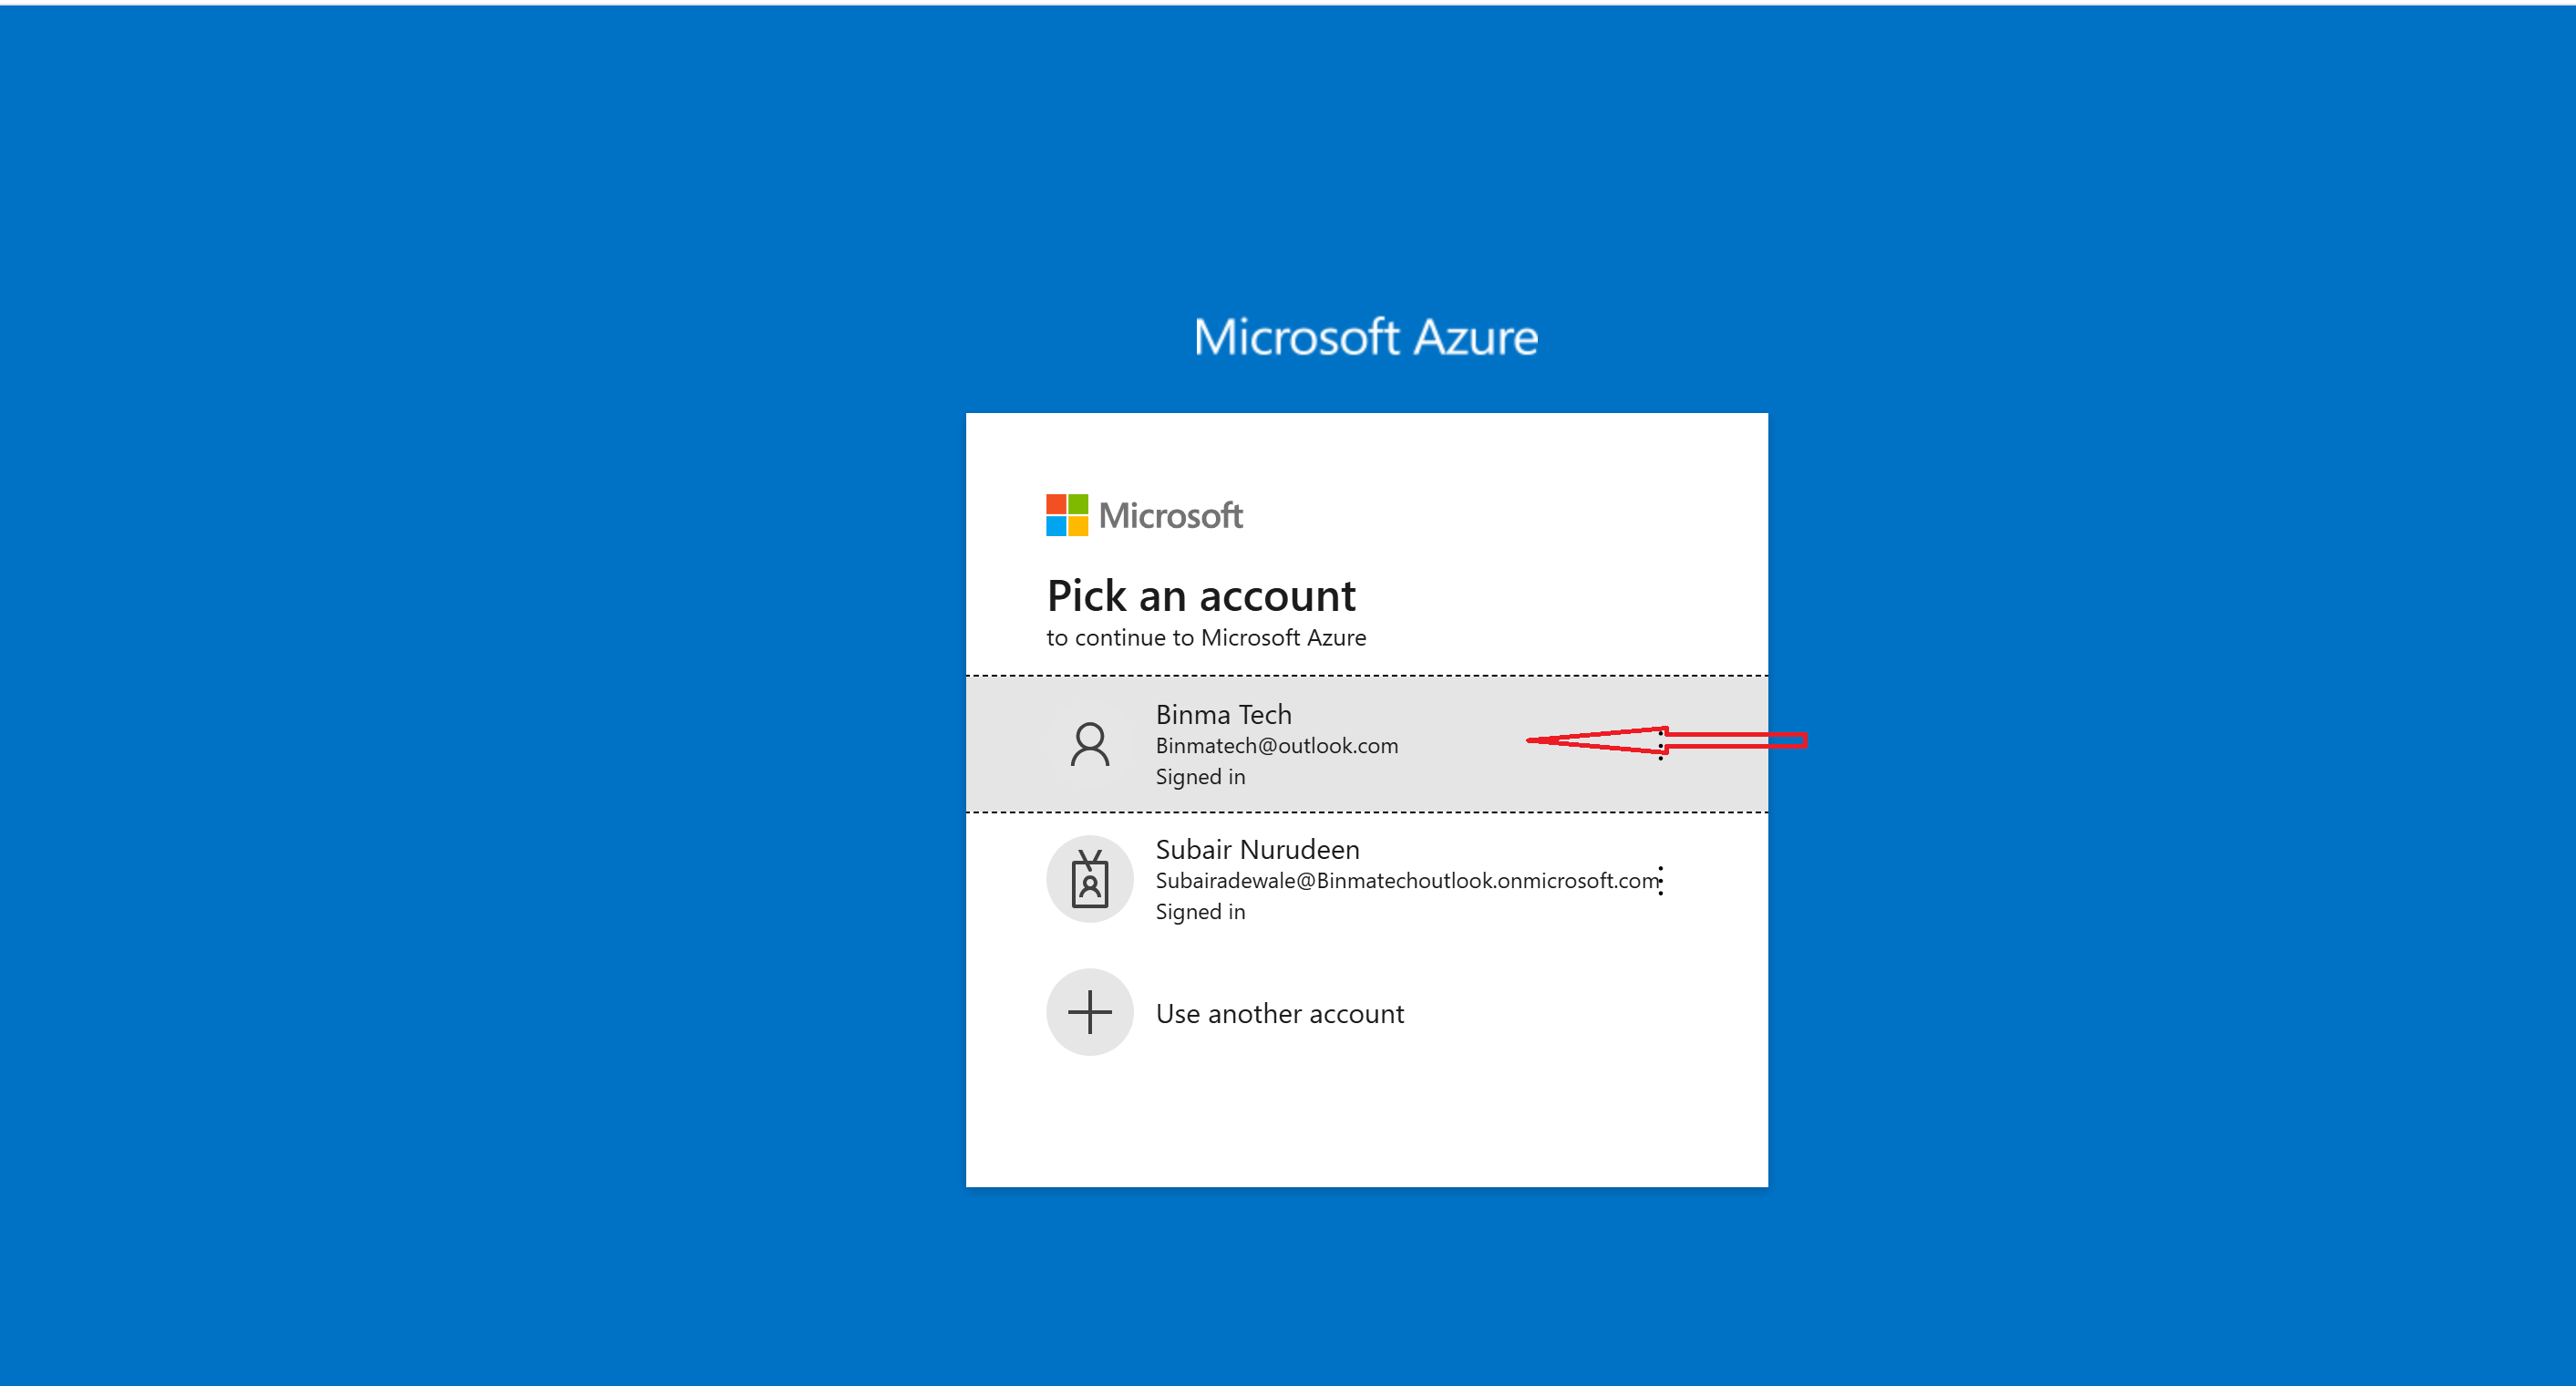
Step 1: Sign in to the Azure Portal
- Go to the Azure Portal.
- Sign in with your Azure credentials.
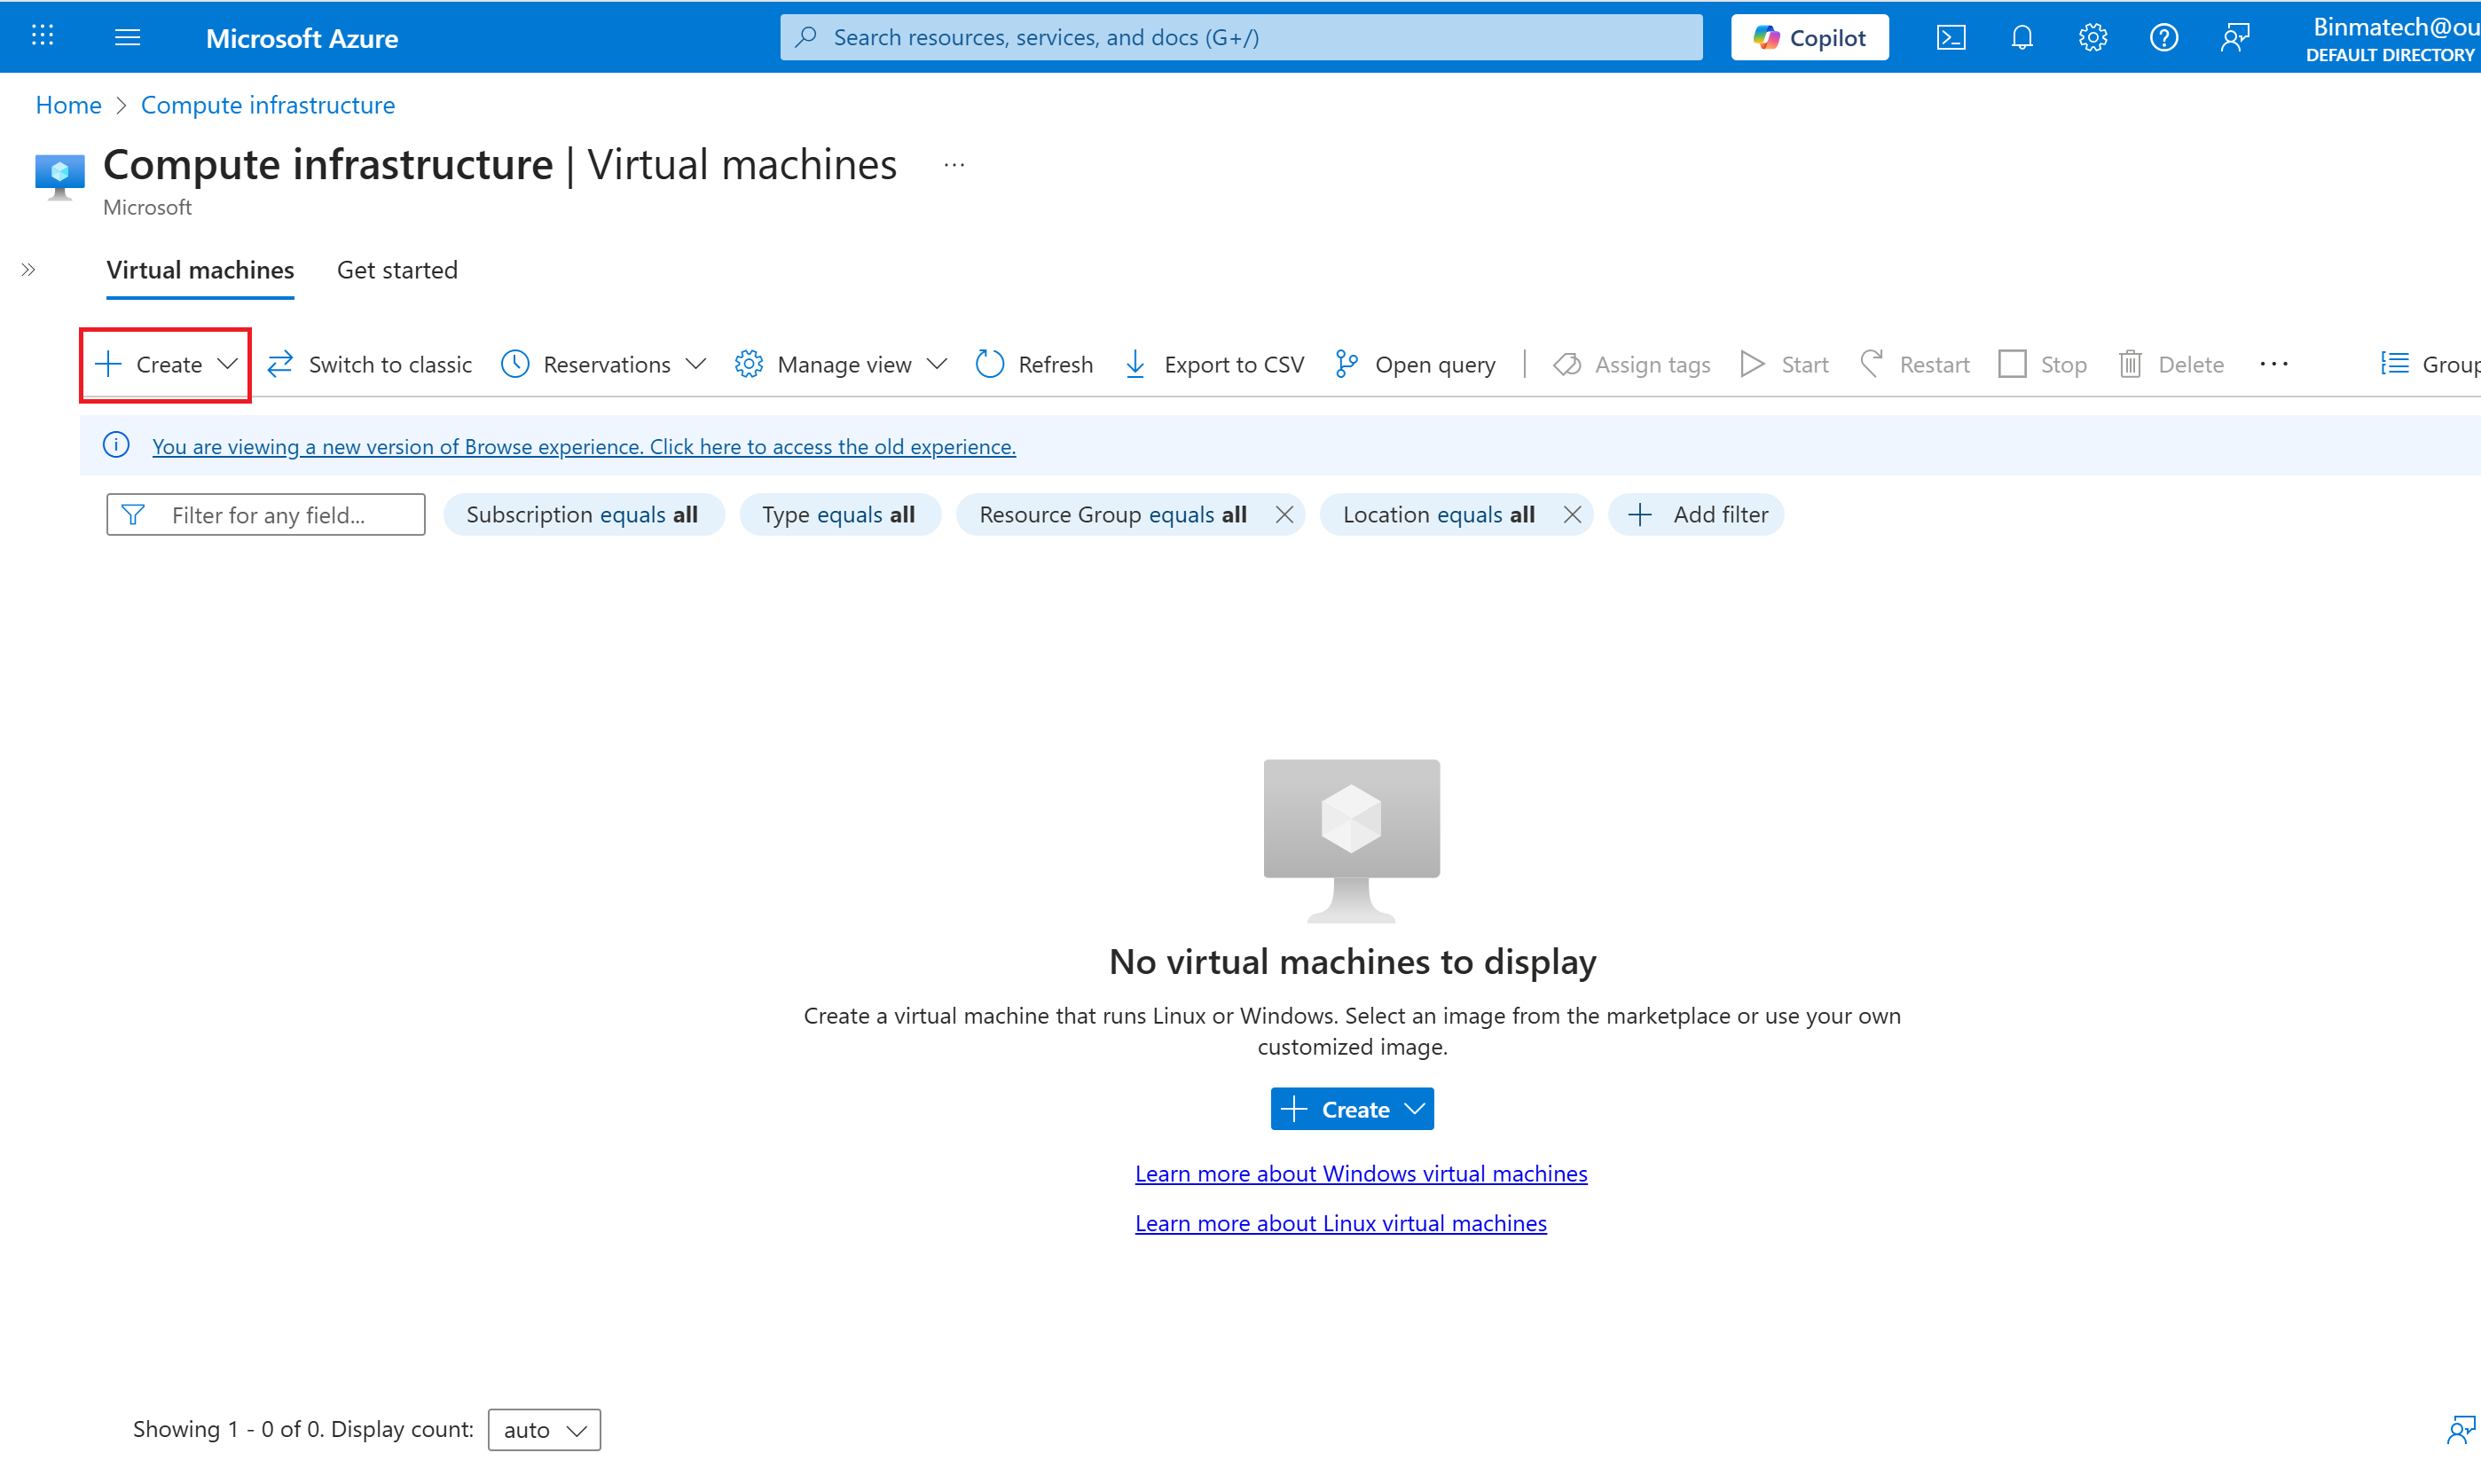
Step 2: Create a New Virtual Machine
- Search for "Virtual Machine" and select it from the results.

- Click "+ Create" to create a Virtual Machine.
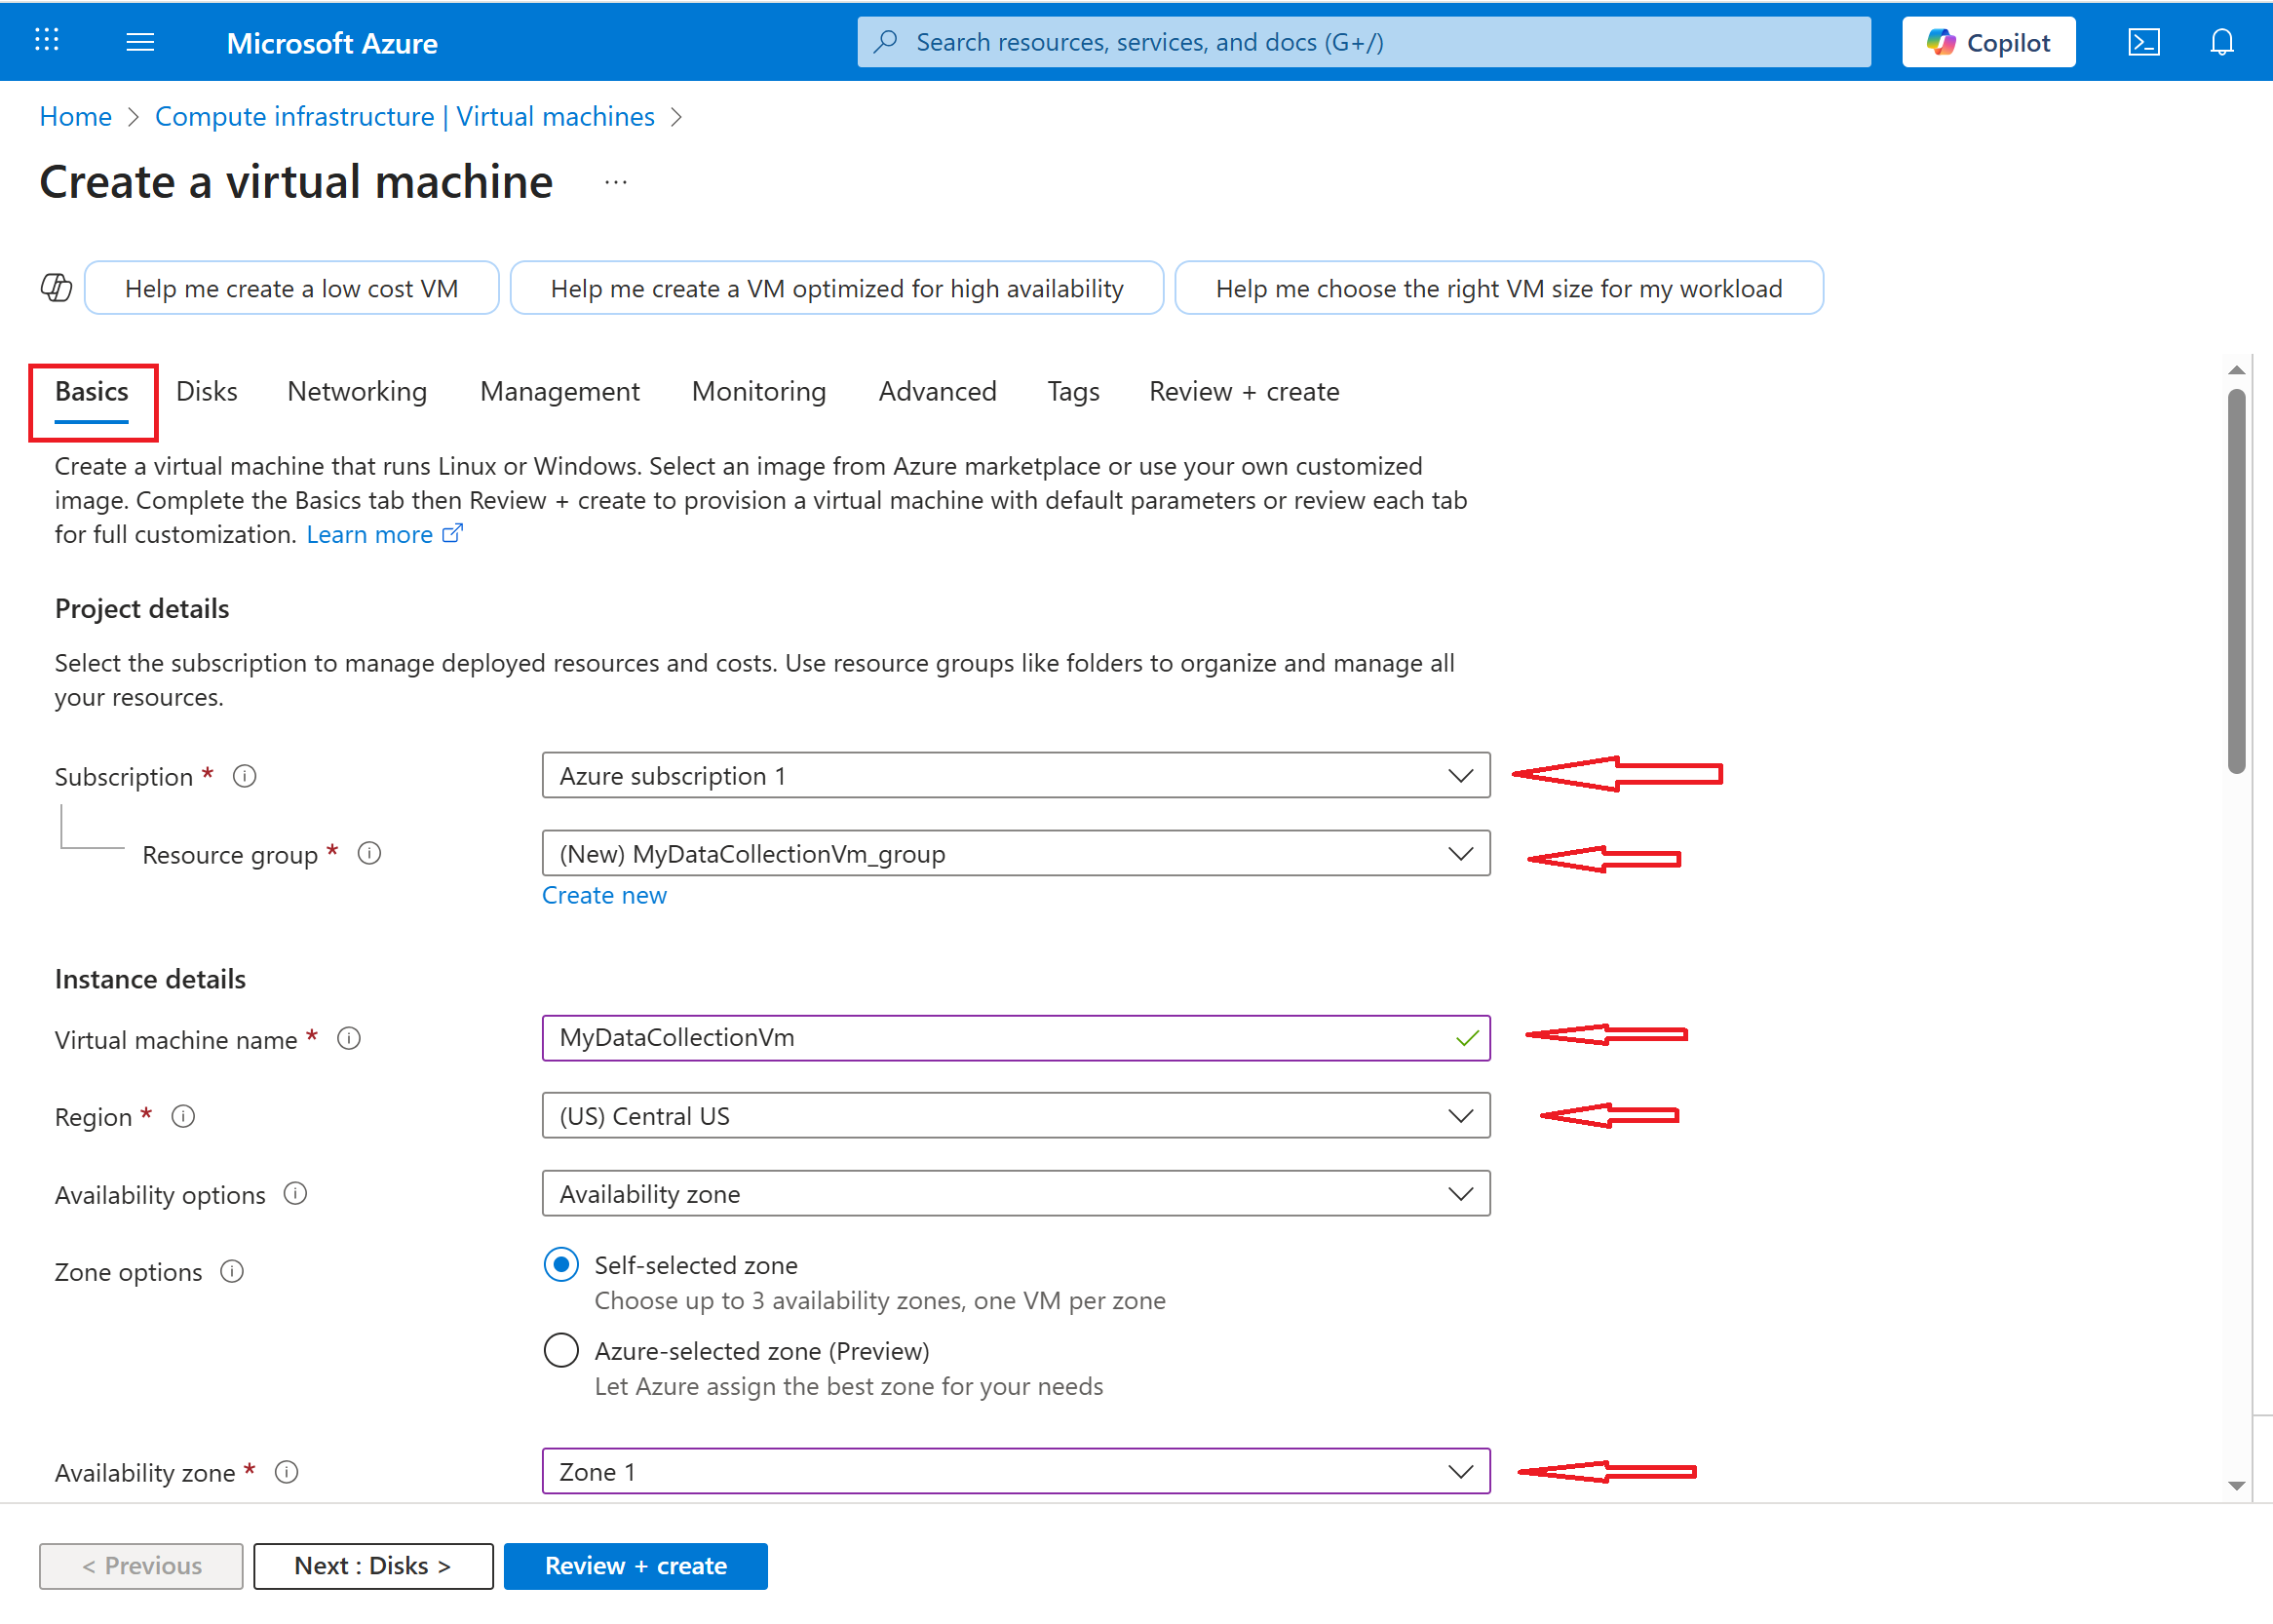
- Fill in the required details in the "Basics" tab:
- Subscription: Select your Azure subscription.
- Resource Group: Create a new one (e.g MyDataCollectionVm_group)
- Virtual Machine Name: Enter a unique name (e.g., MyDatacollectionVm).
- Region: Choose the closest Azure region for better performance.
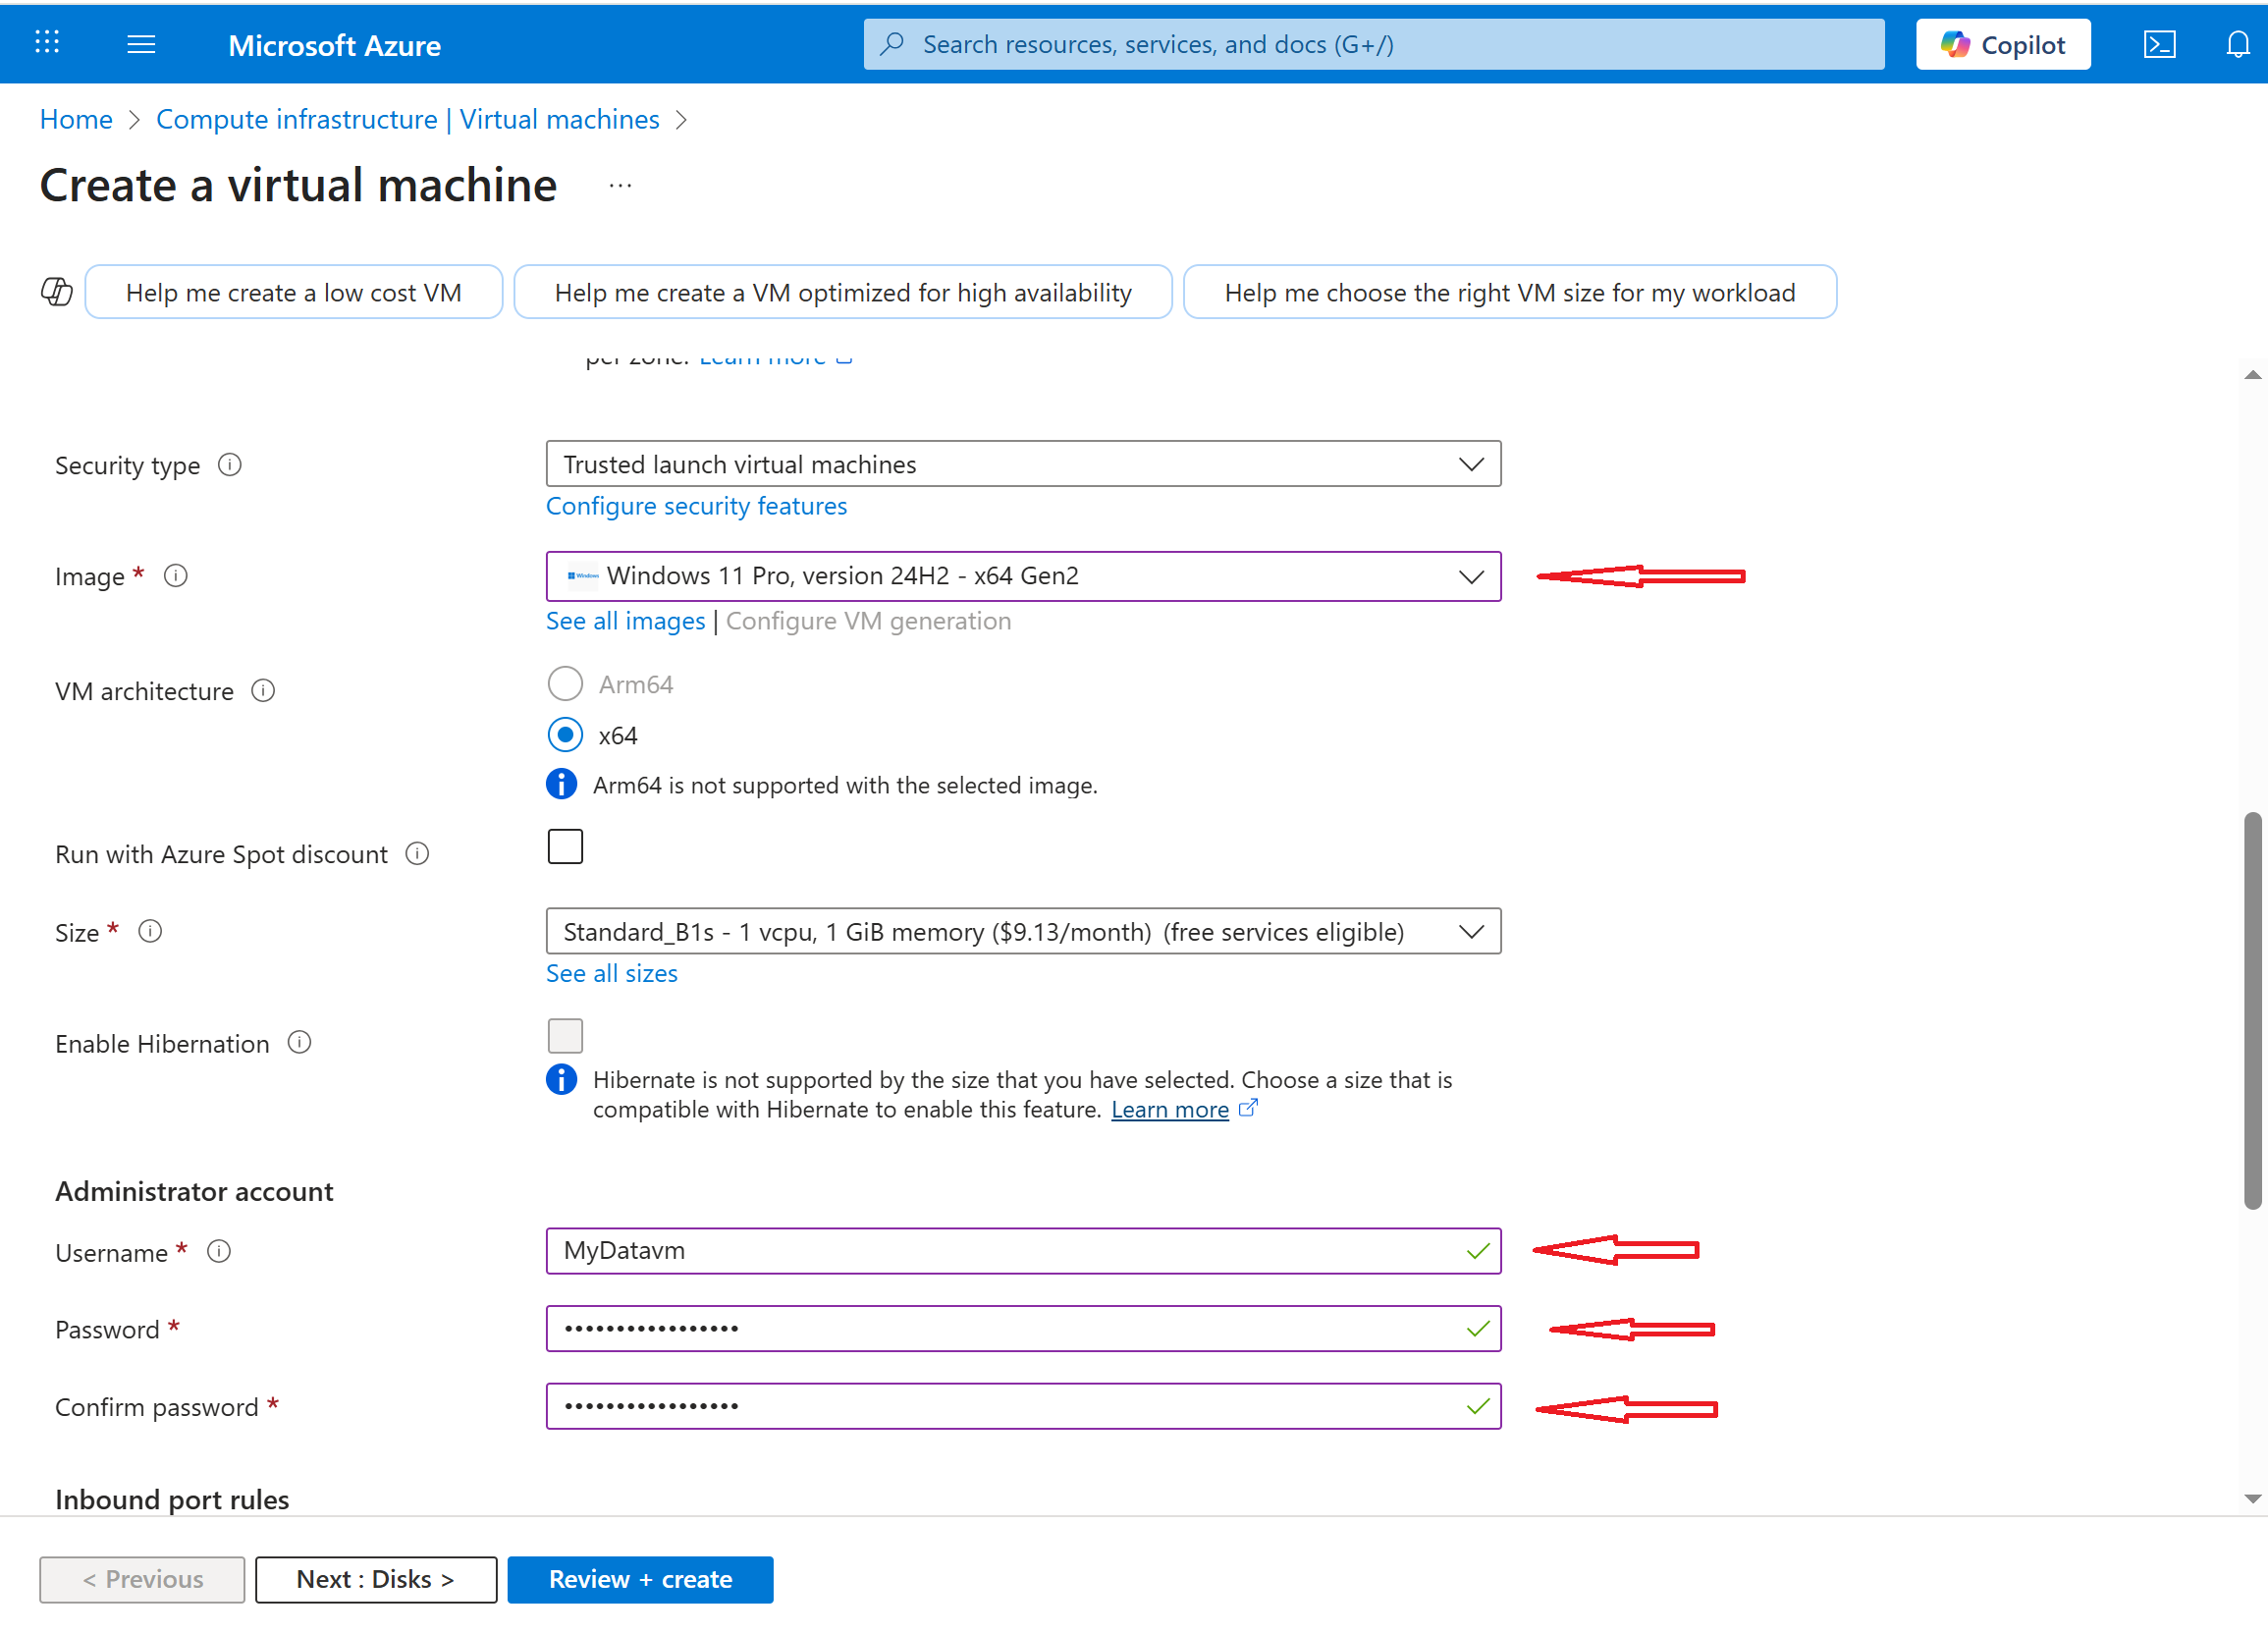
- Image: Select an OS (Windows Server, Ubuntu, CentOS, etc..)
- Size: Choose VM size based on CPU, RAM, and cost (e.g., B1s for testing).
- Authentication Type:
- Password: Set a username and password.
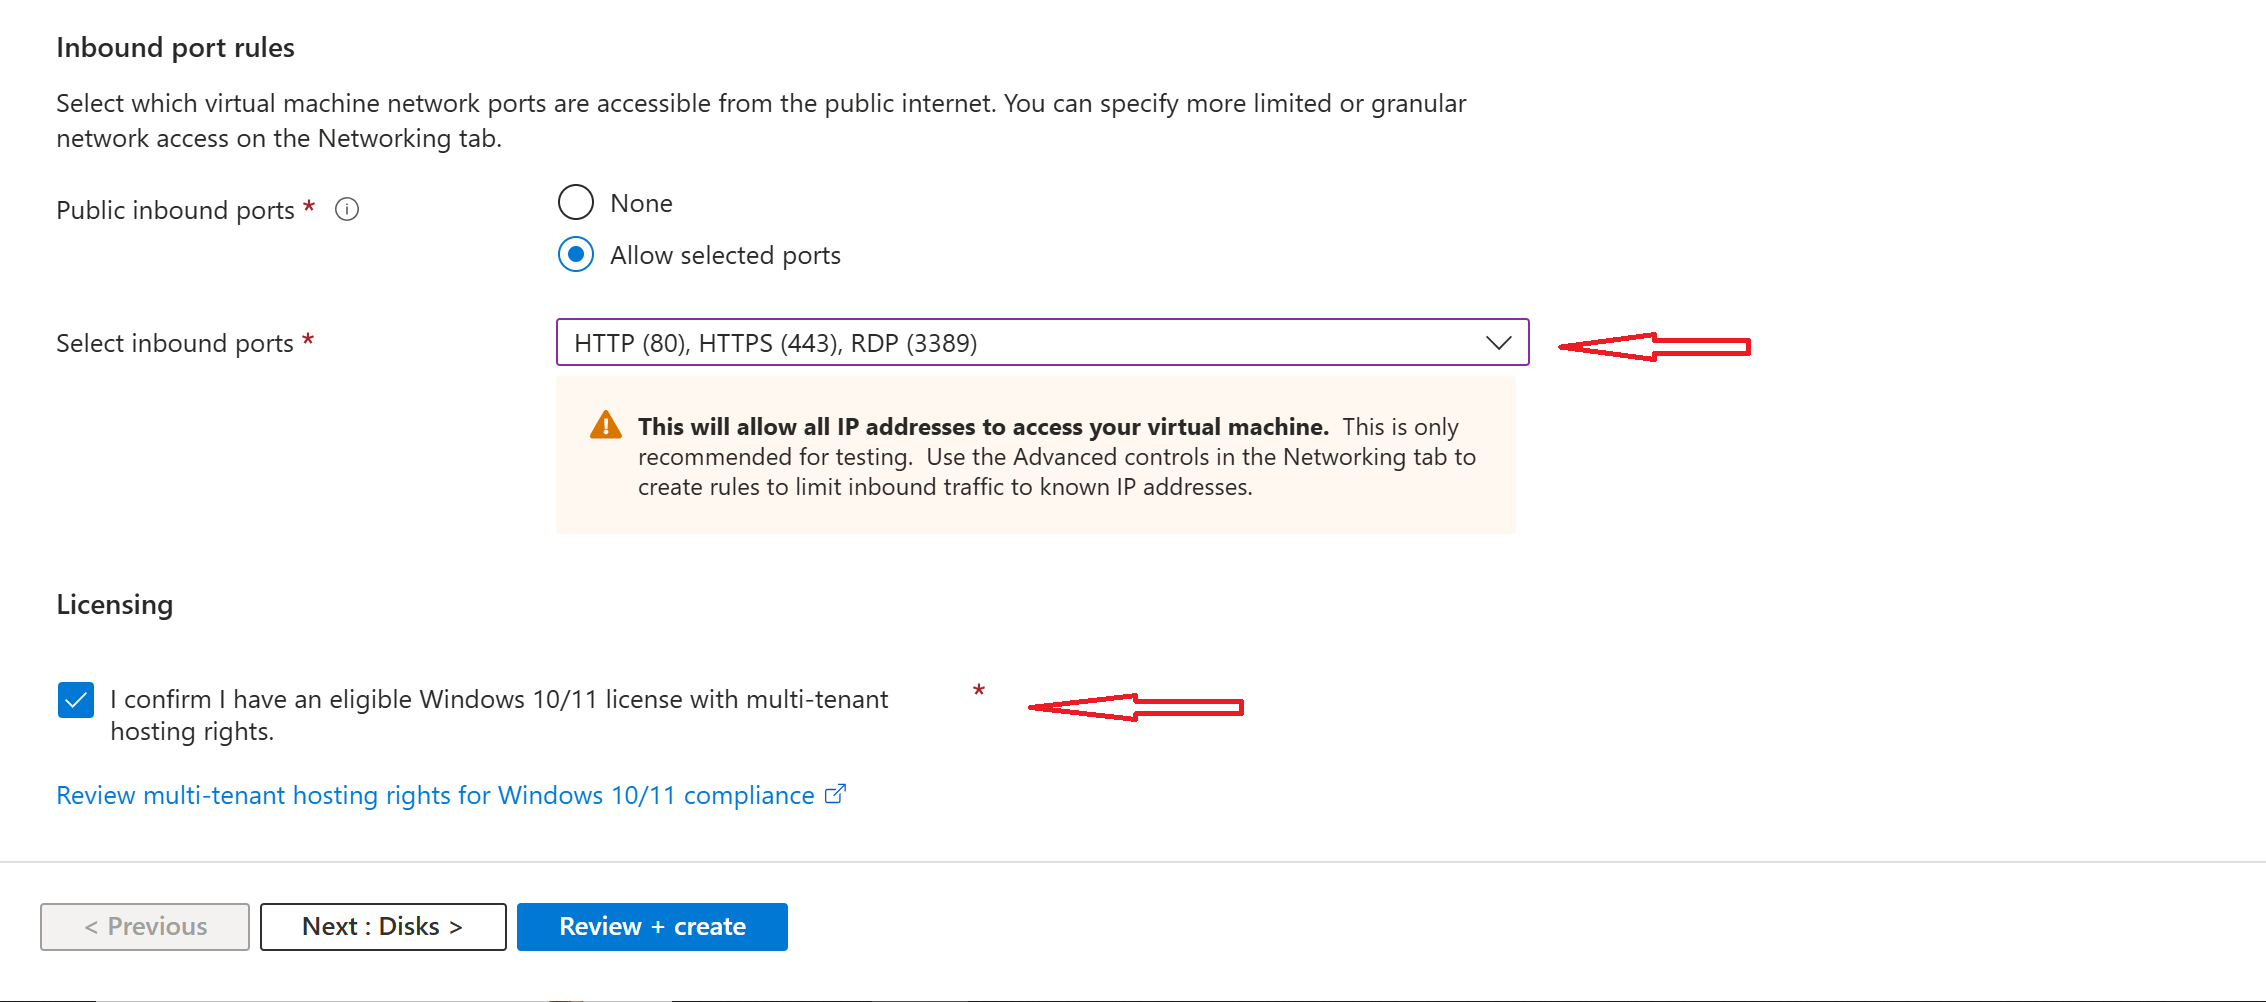
- Set Inbound port rules and Click
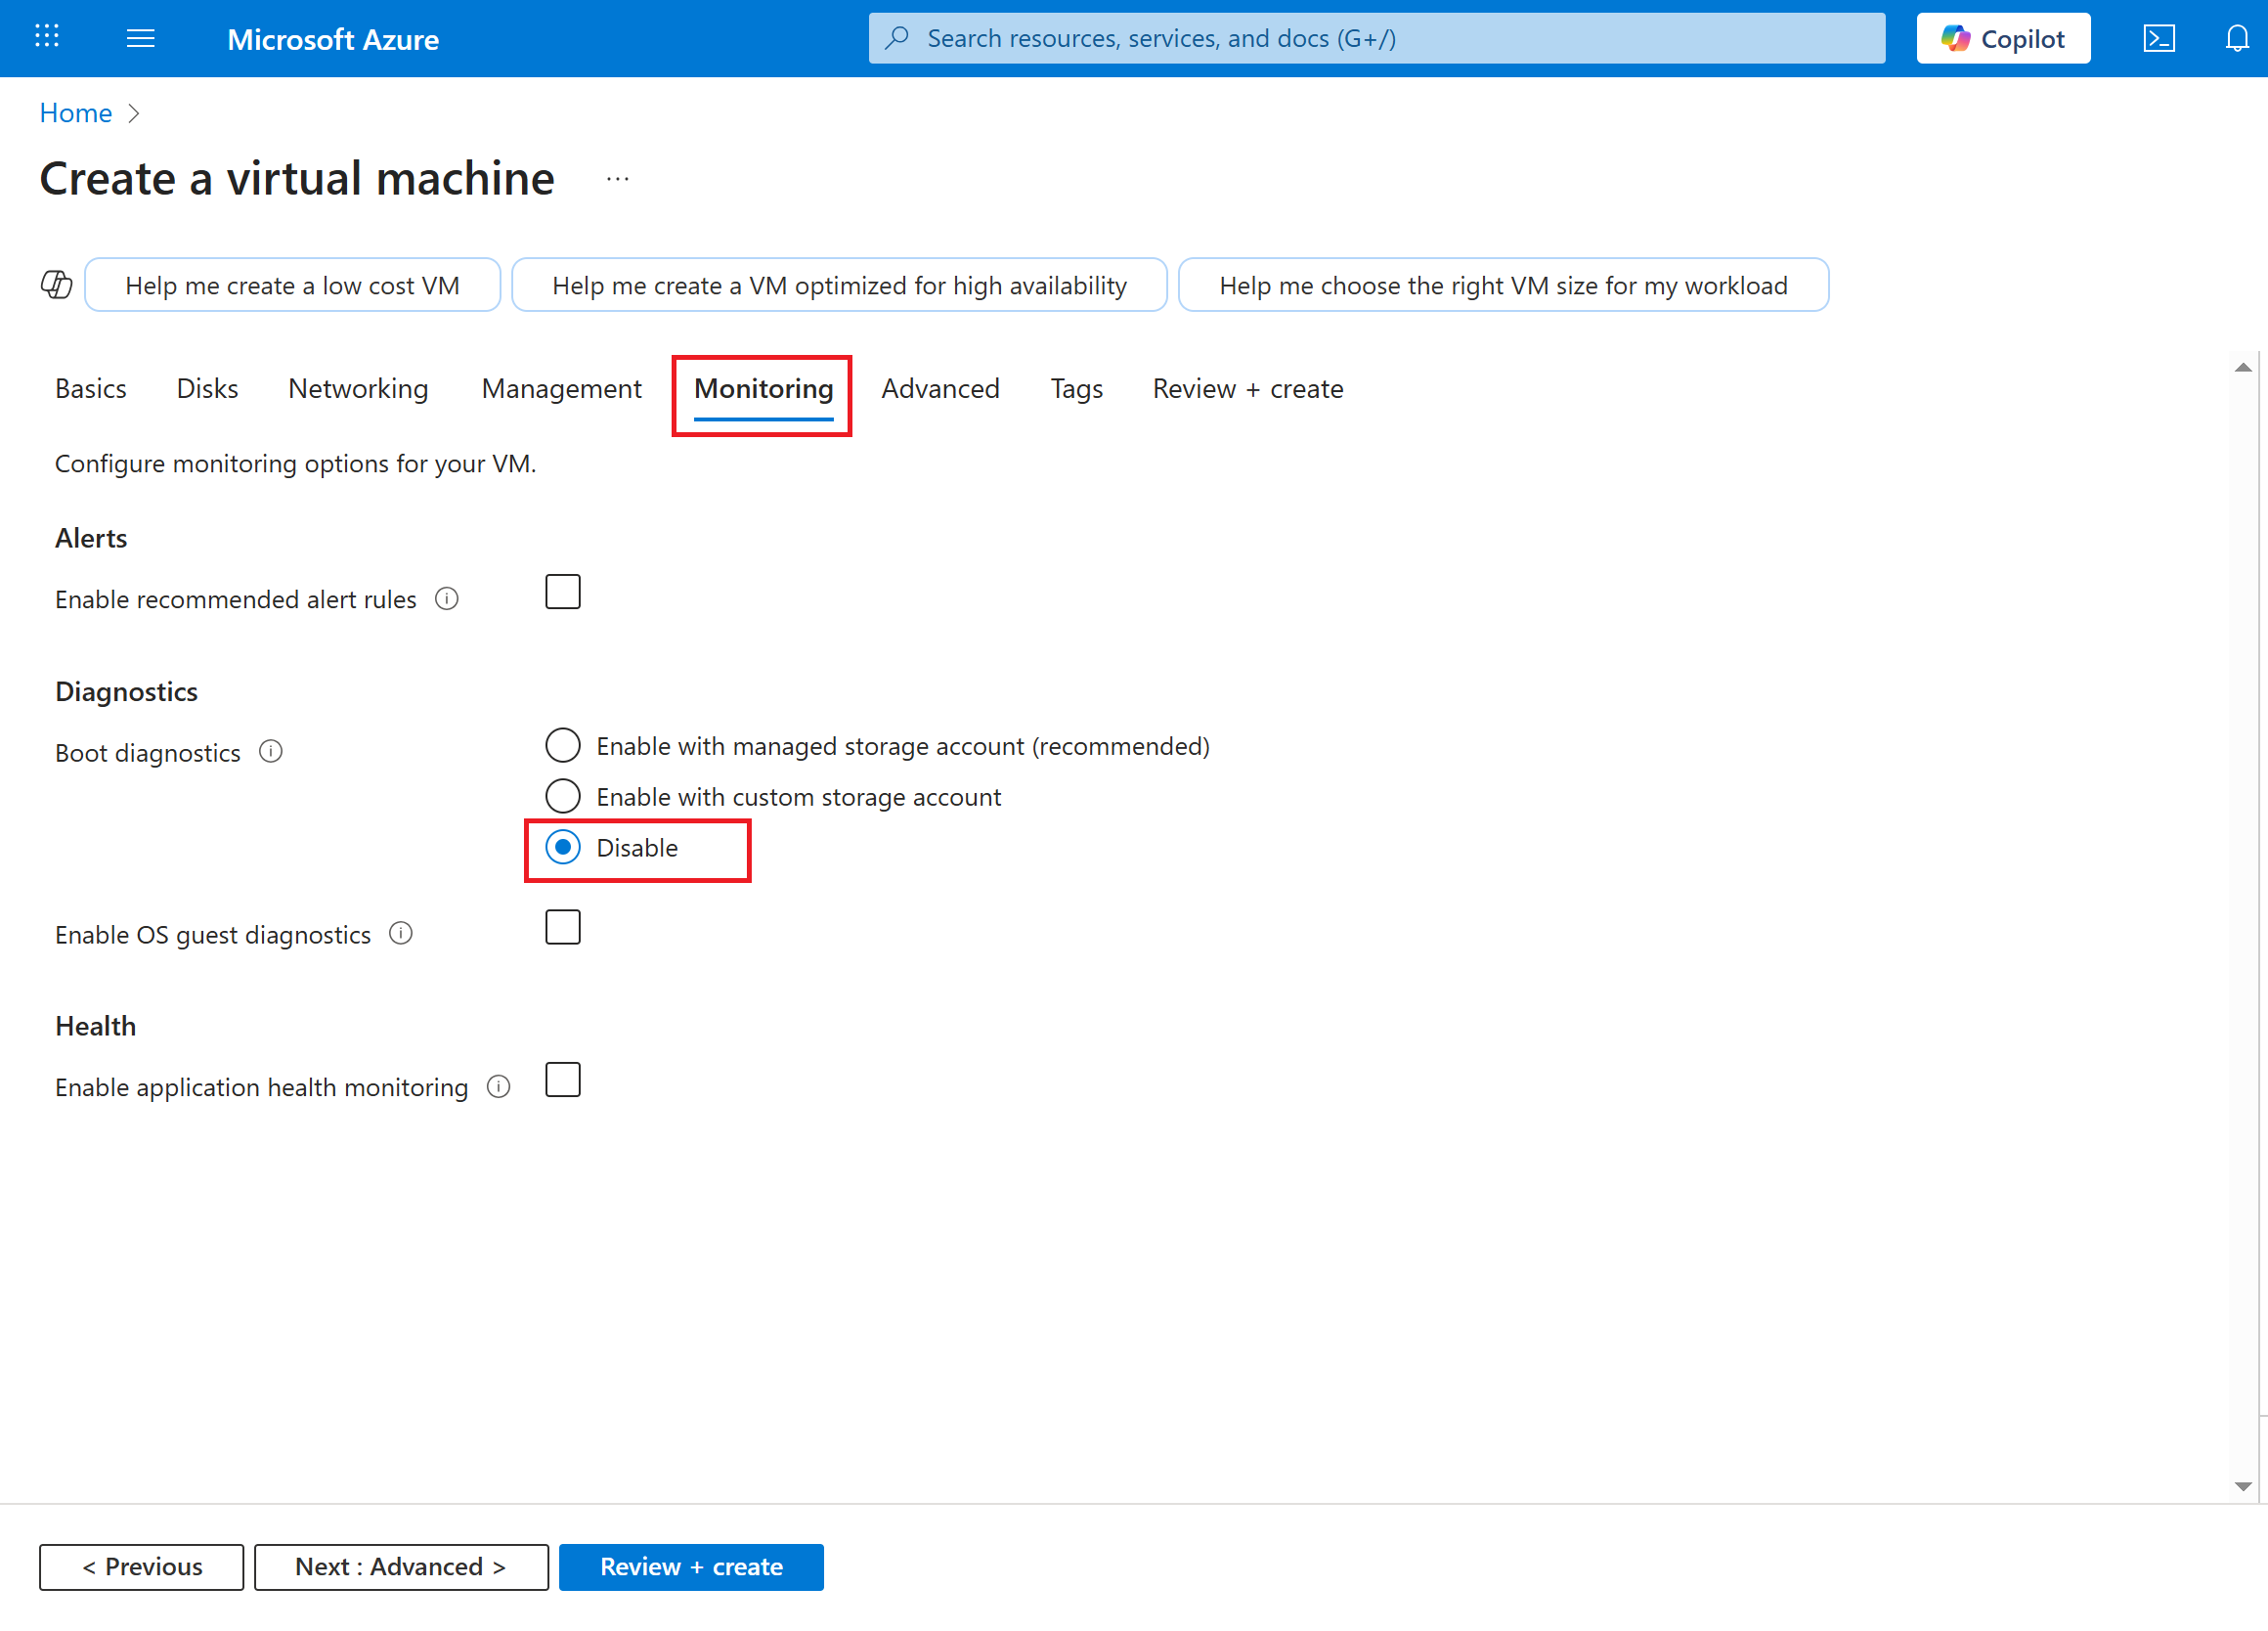
- Navigate to the monitoring tab and disable "Boot diagnostics"
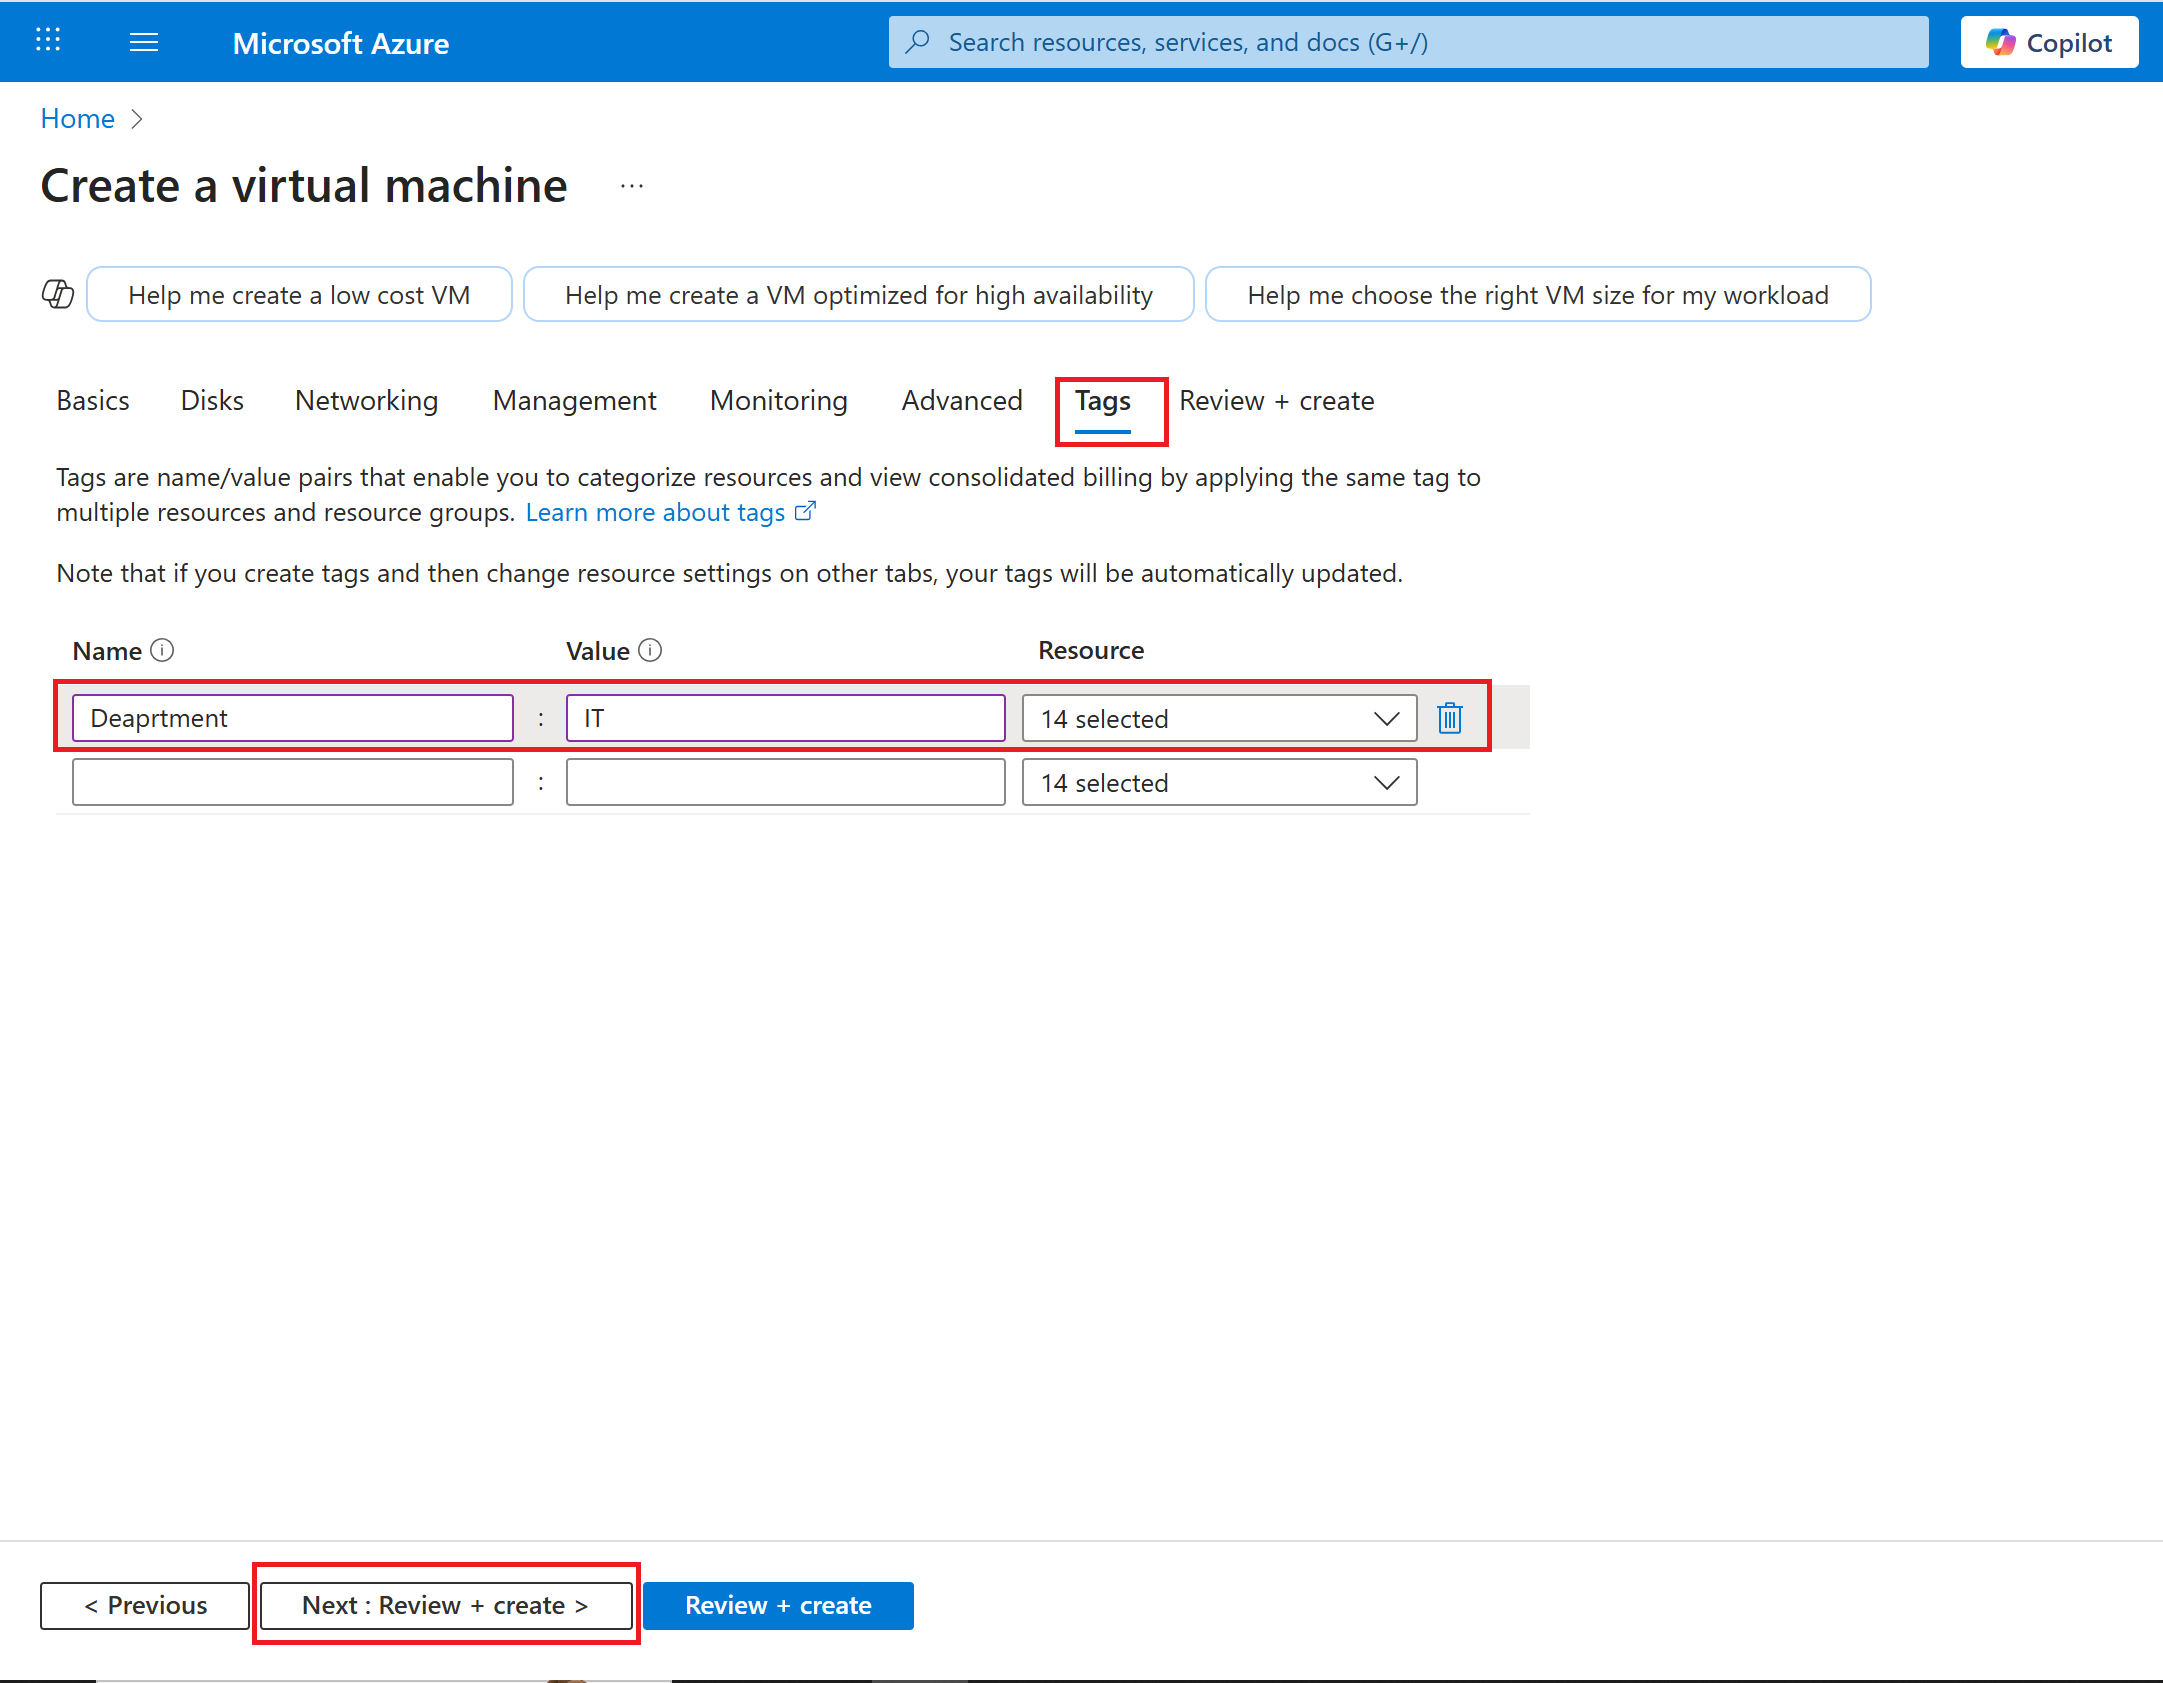
- Navigate to the Tag tab and give it a name "department" value "IT".
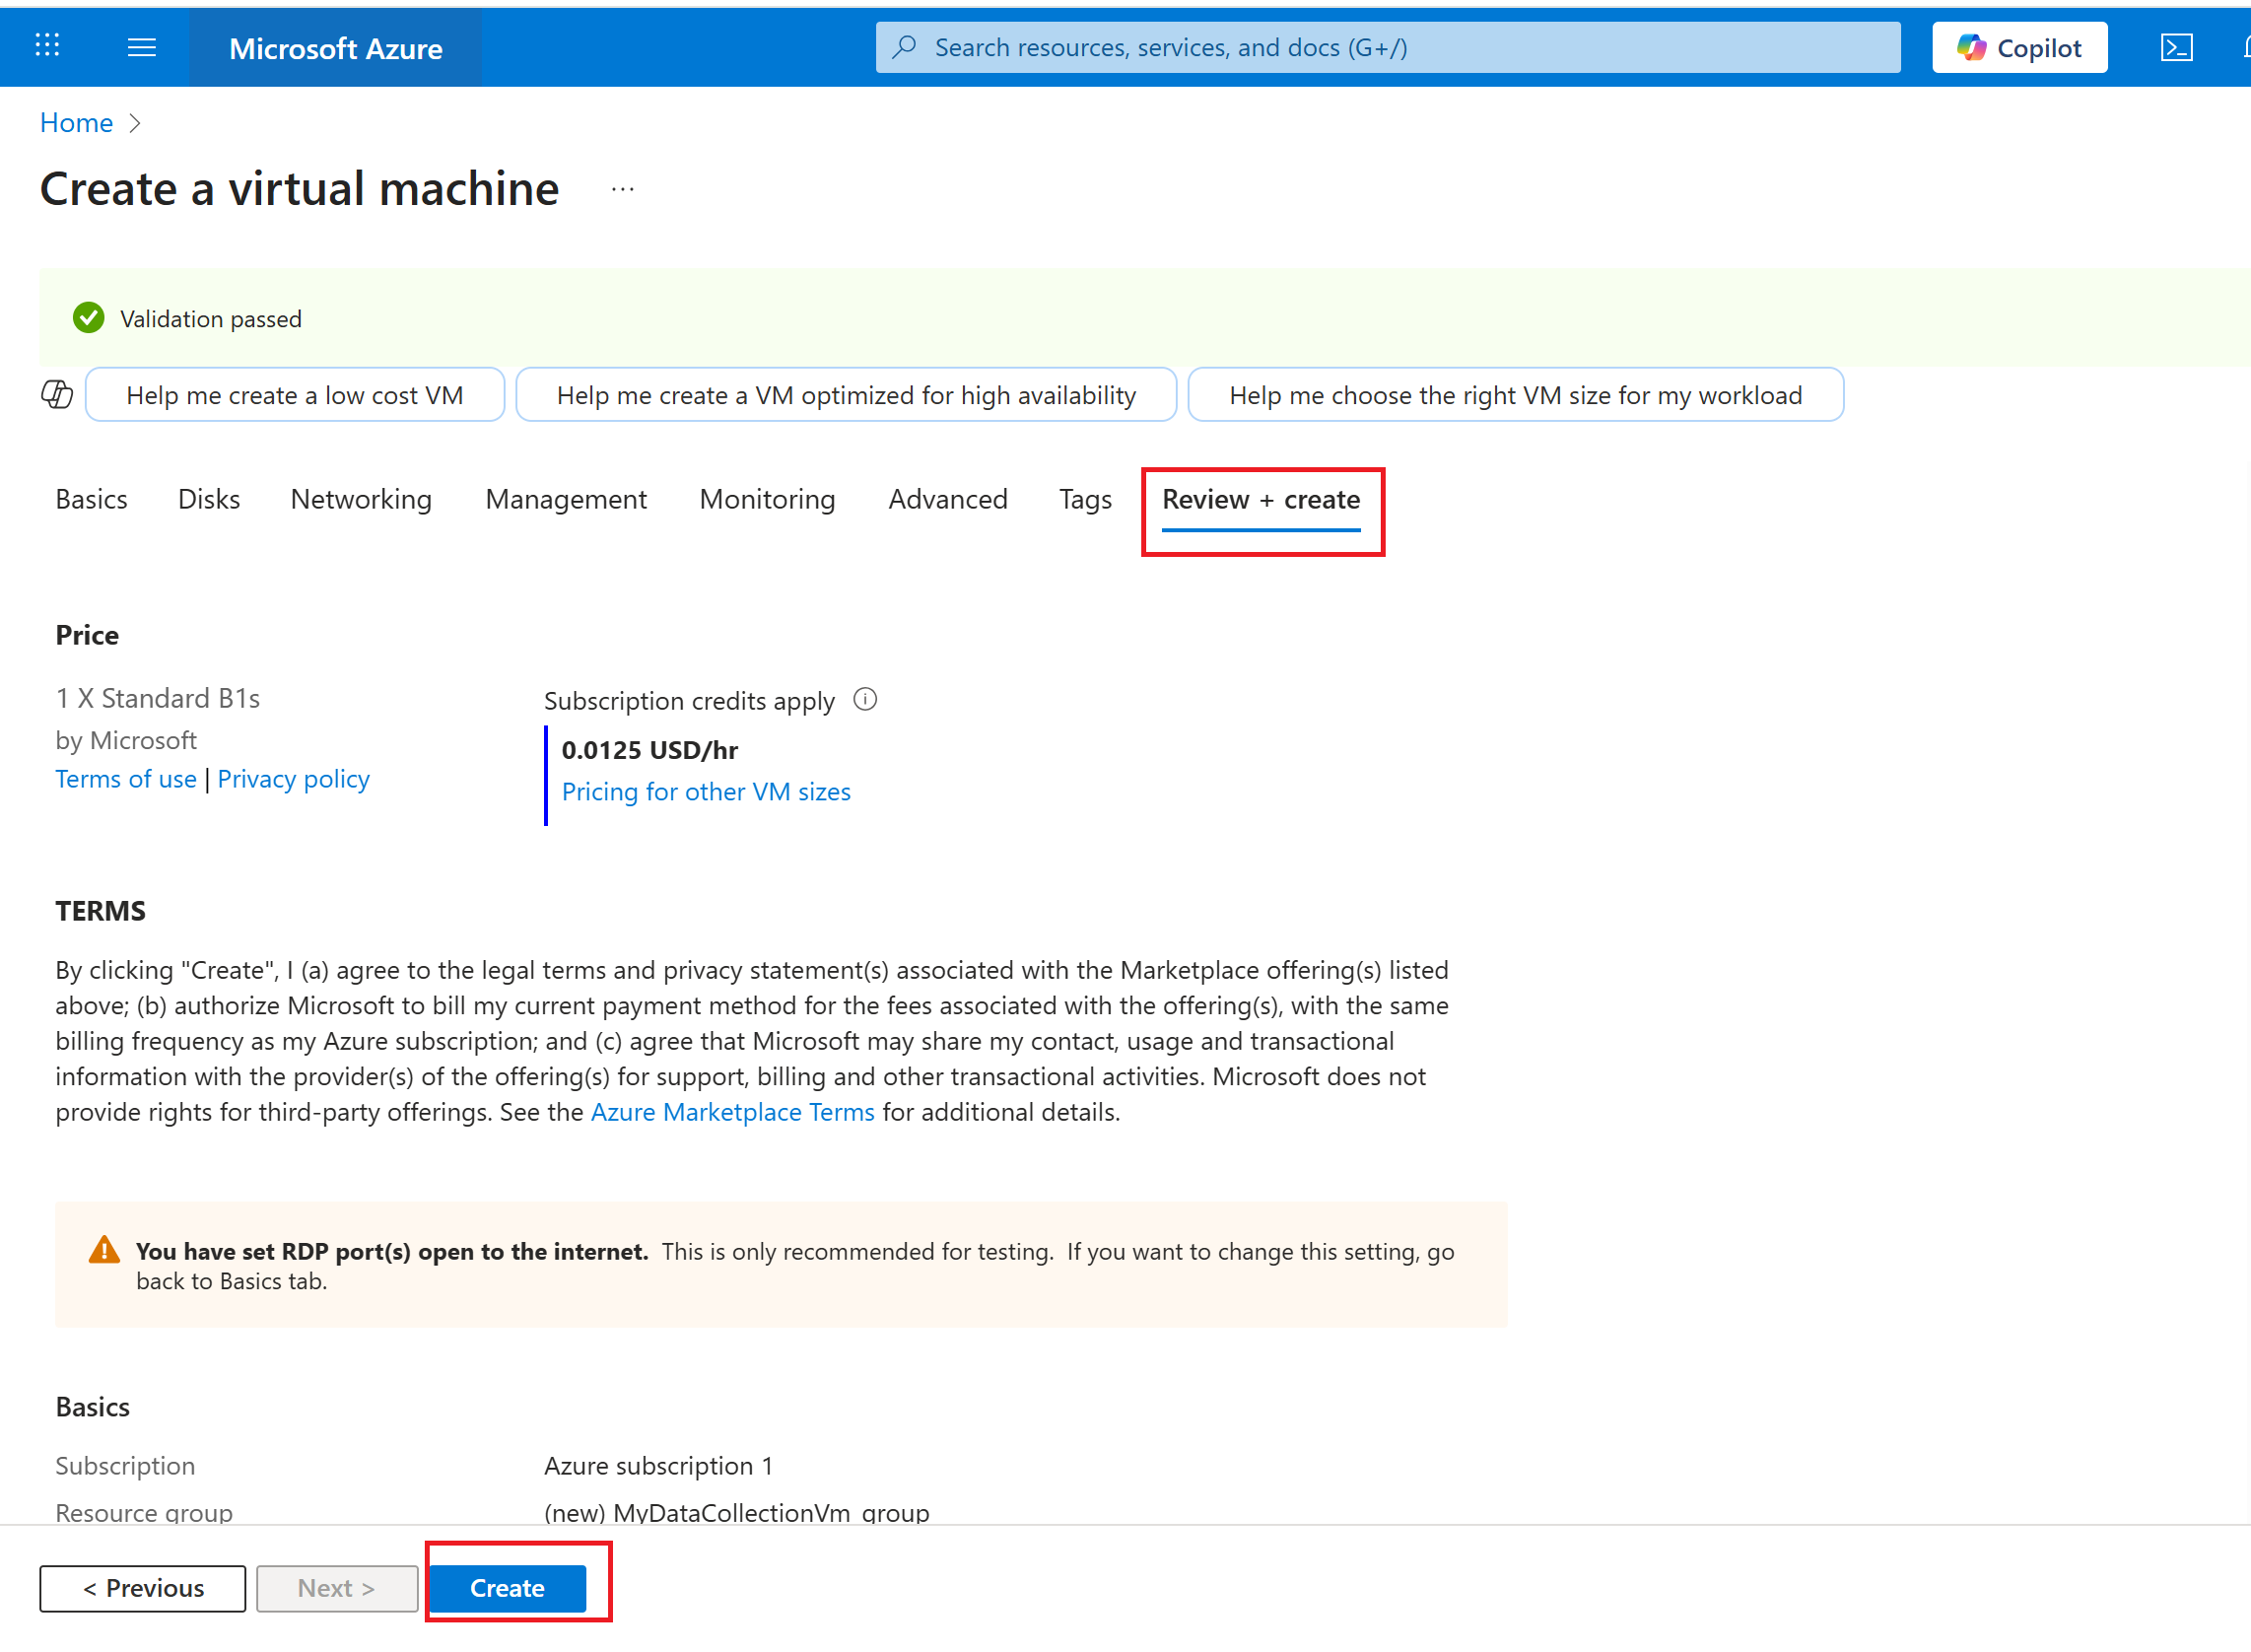
Step 4: Review and Create the VM
- Click "Review + Create" to validate settings.
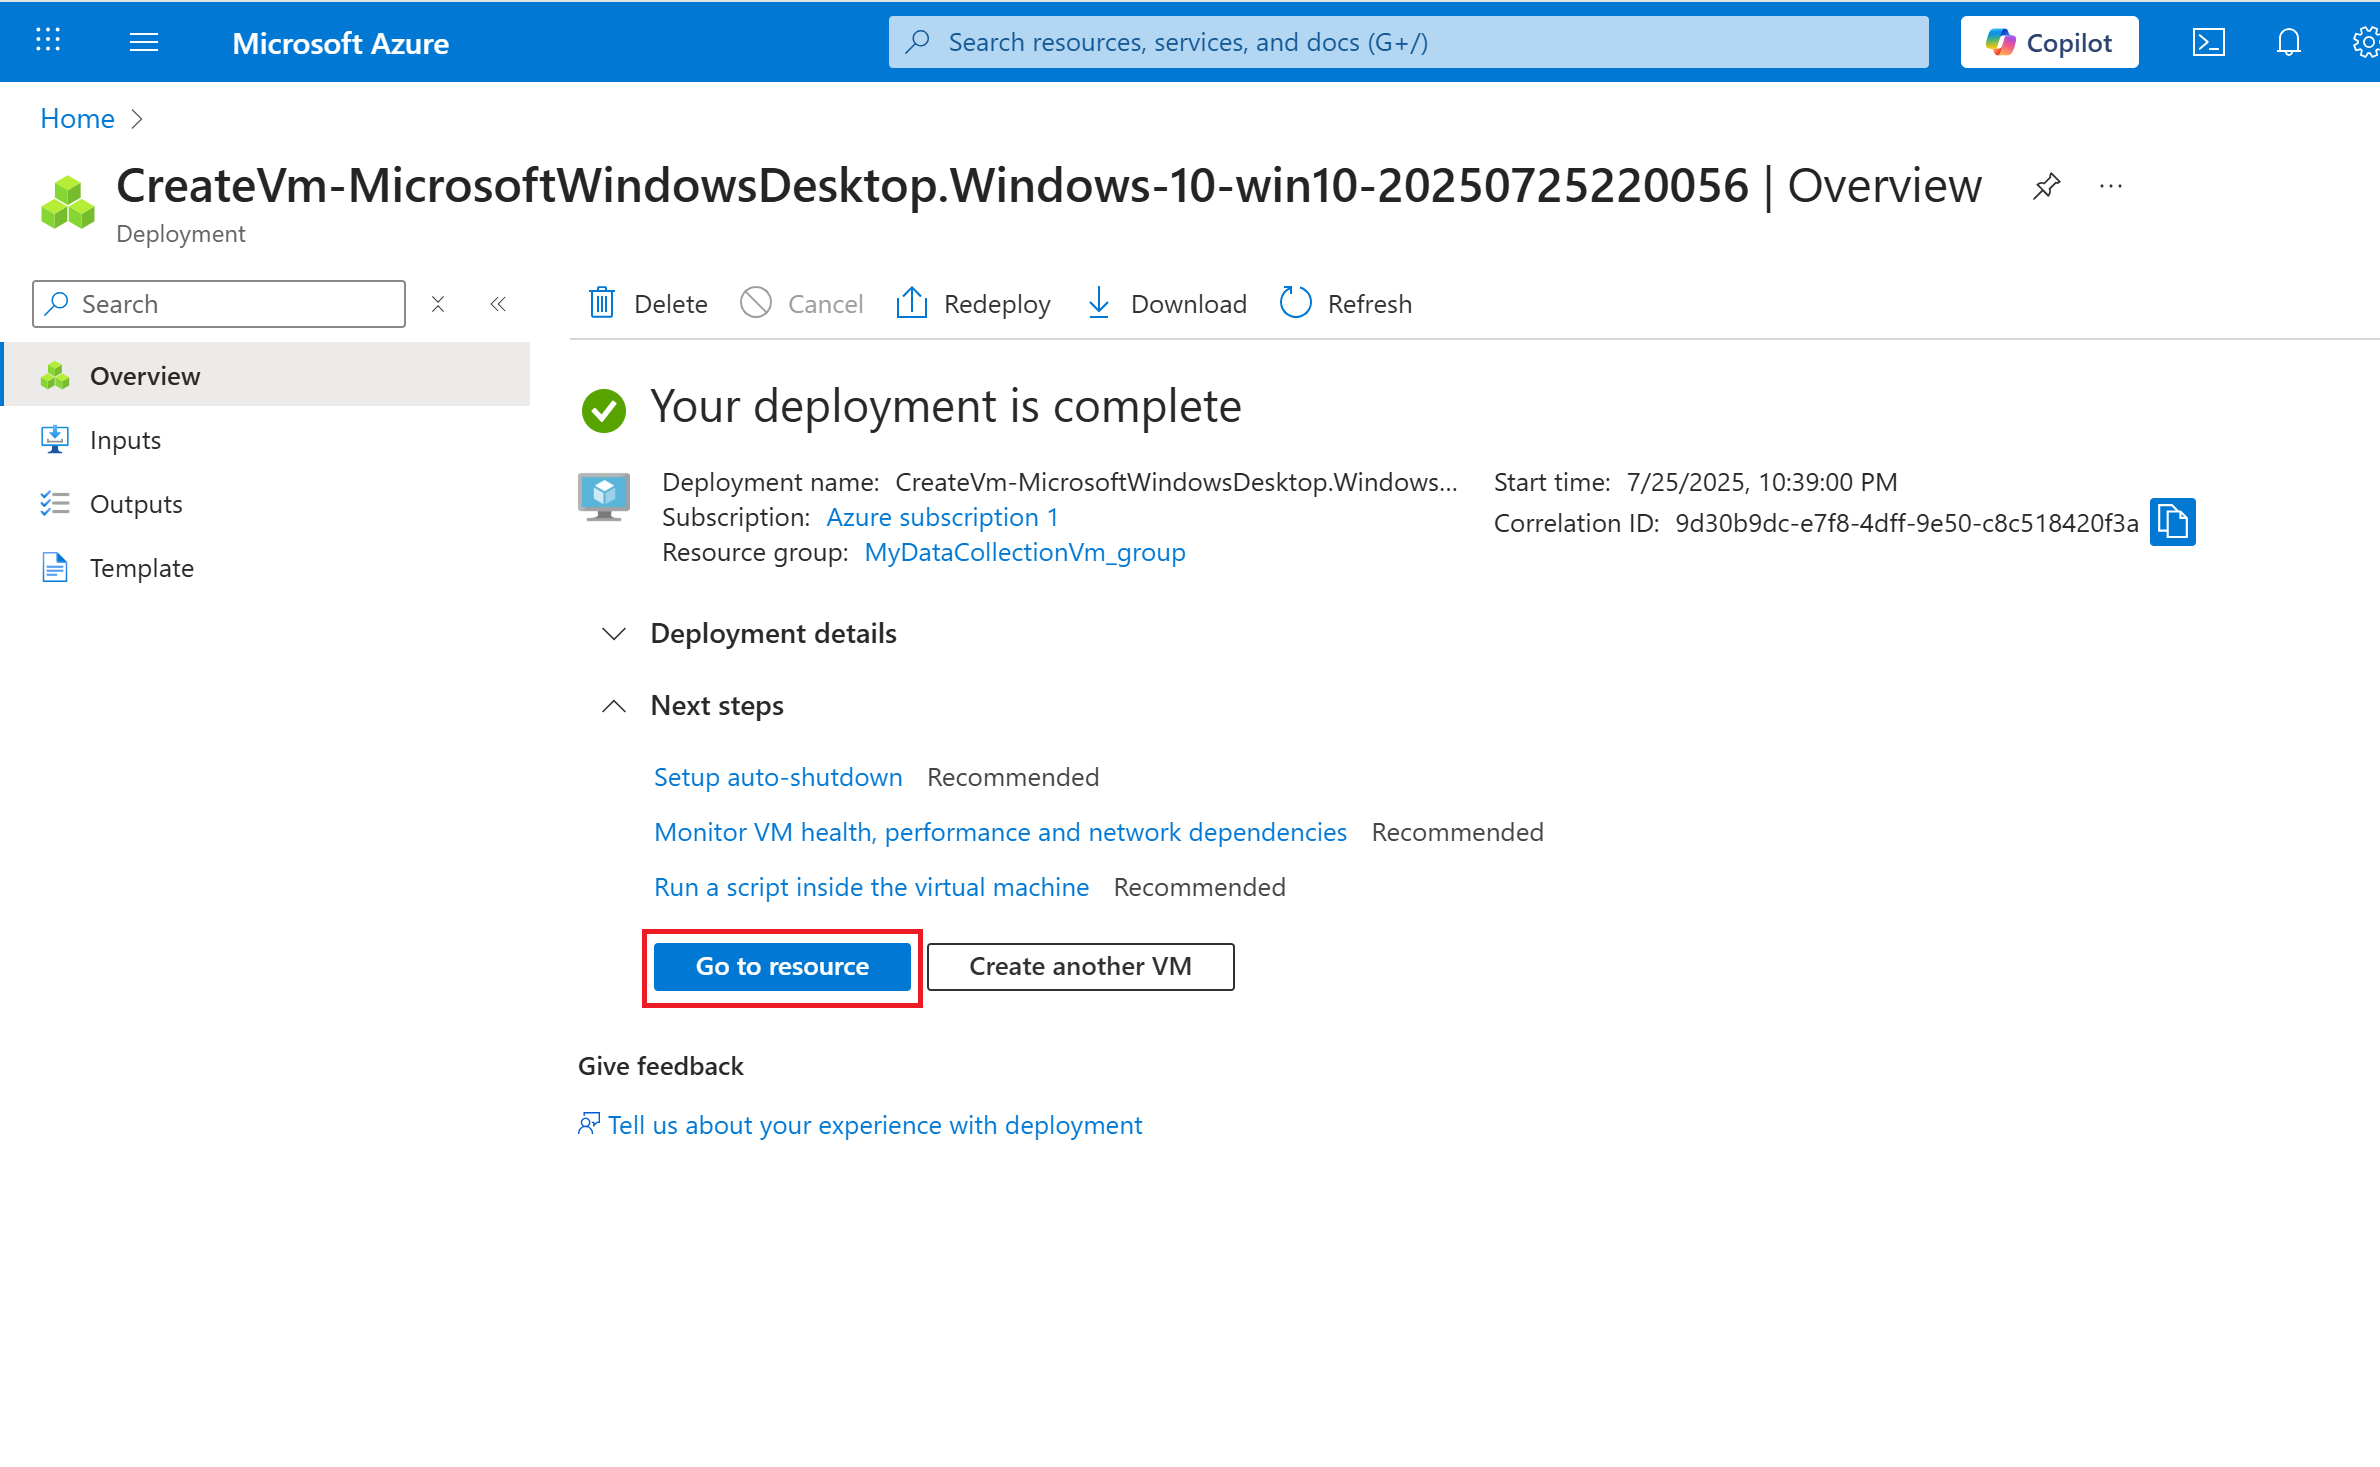
- If validation passes, click "Create" to deploy the VM.
- Wait a few minutes for Azure to provision the VM and click on the "Go to resources" button
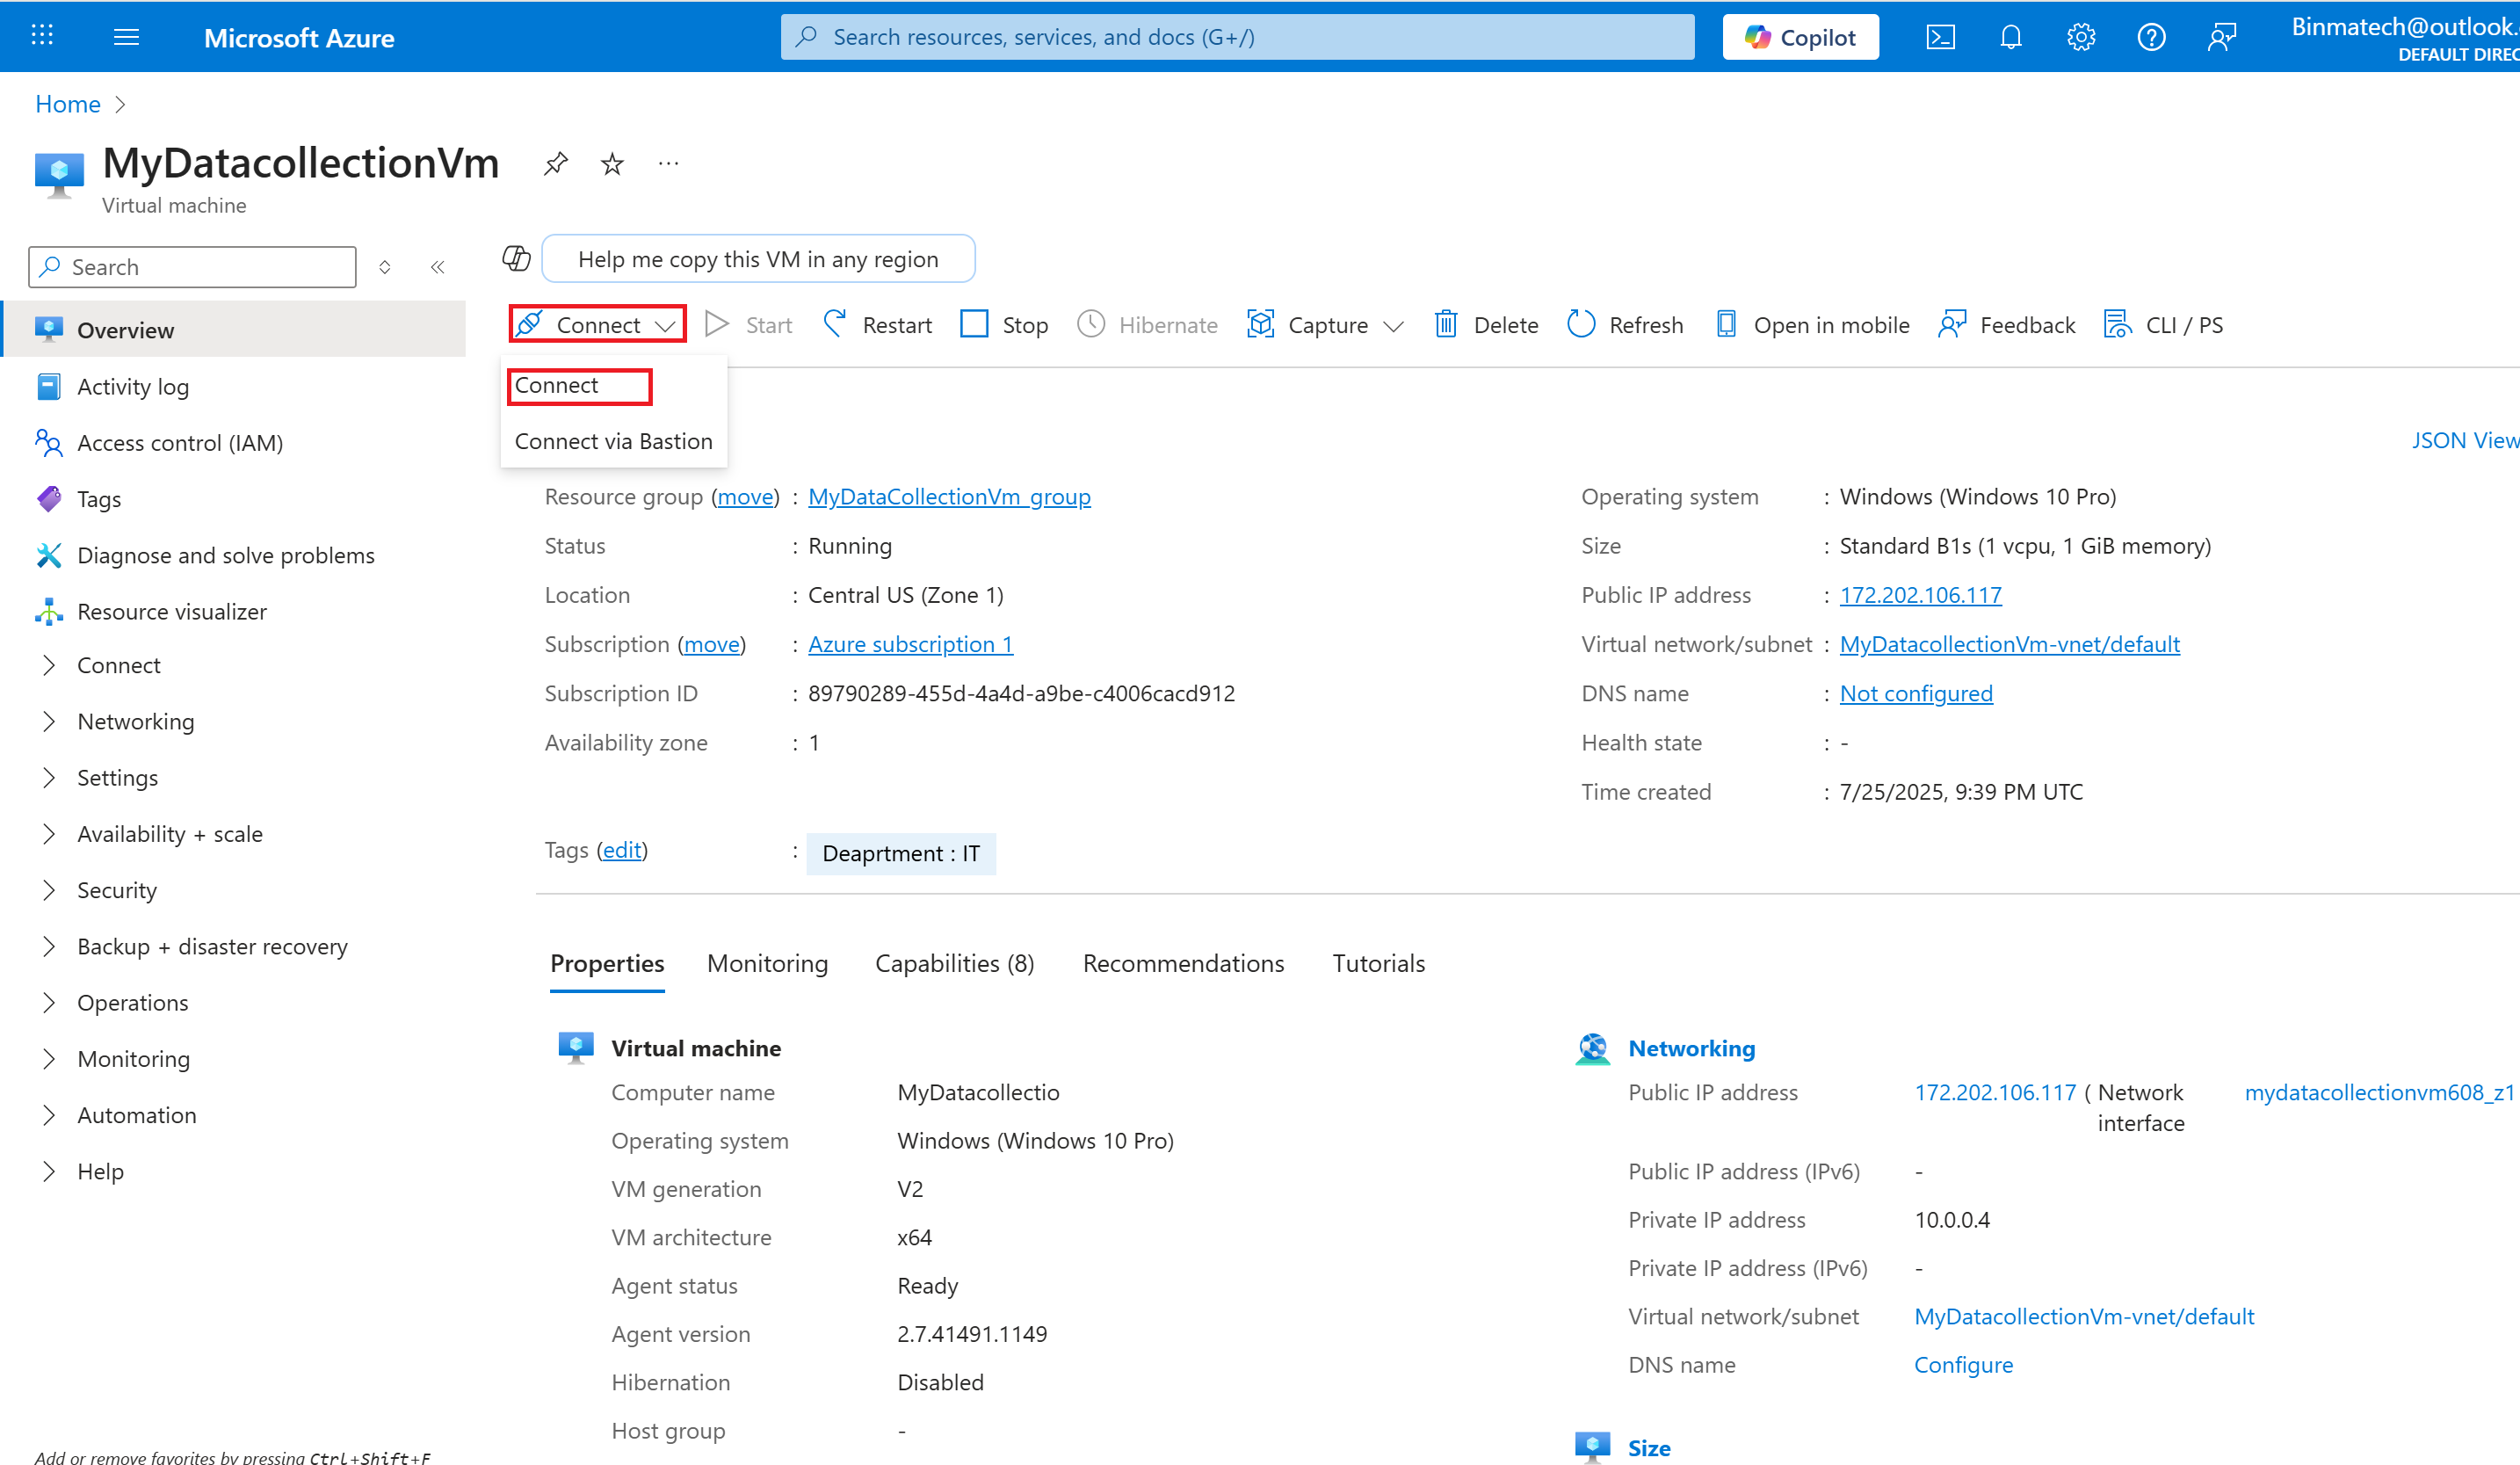
Step 5: Connect to Your Virtual Machine
- For Windows VM (RDP Connection)
- Go to the VM’s overview page in Azure Portal.
- Click "Connect"
- Download the RDP file and open it.
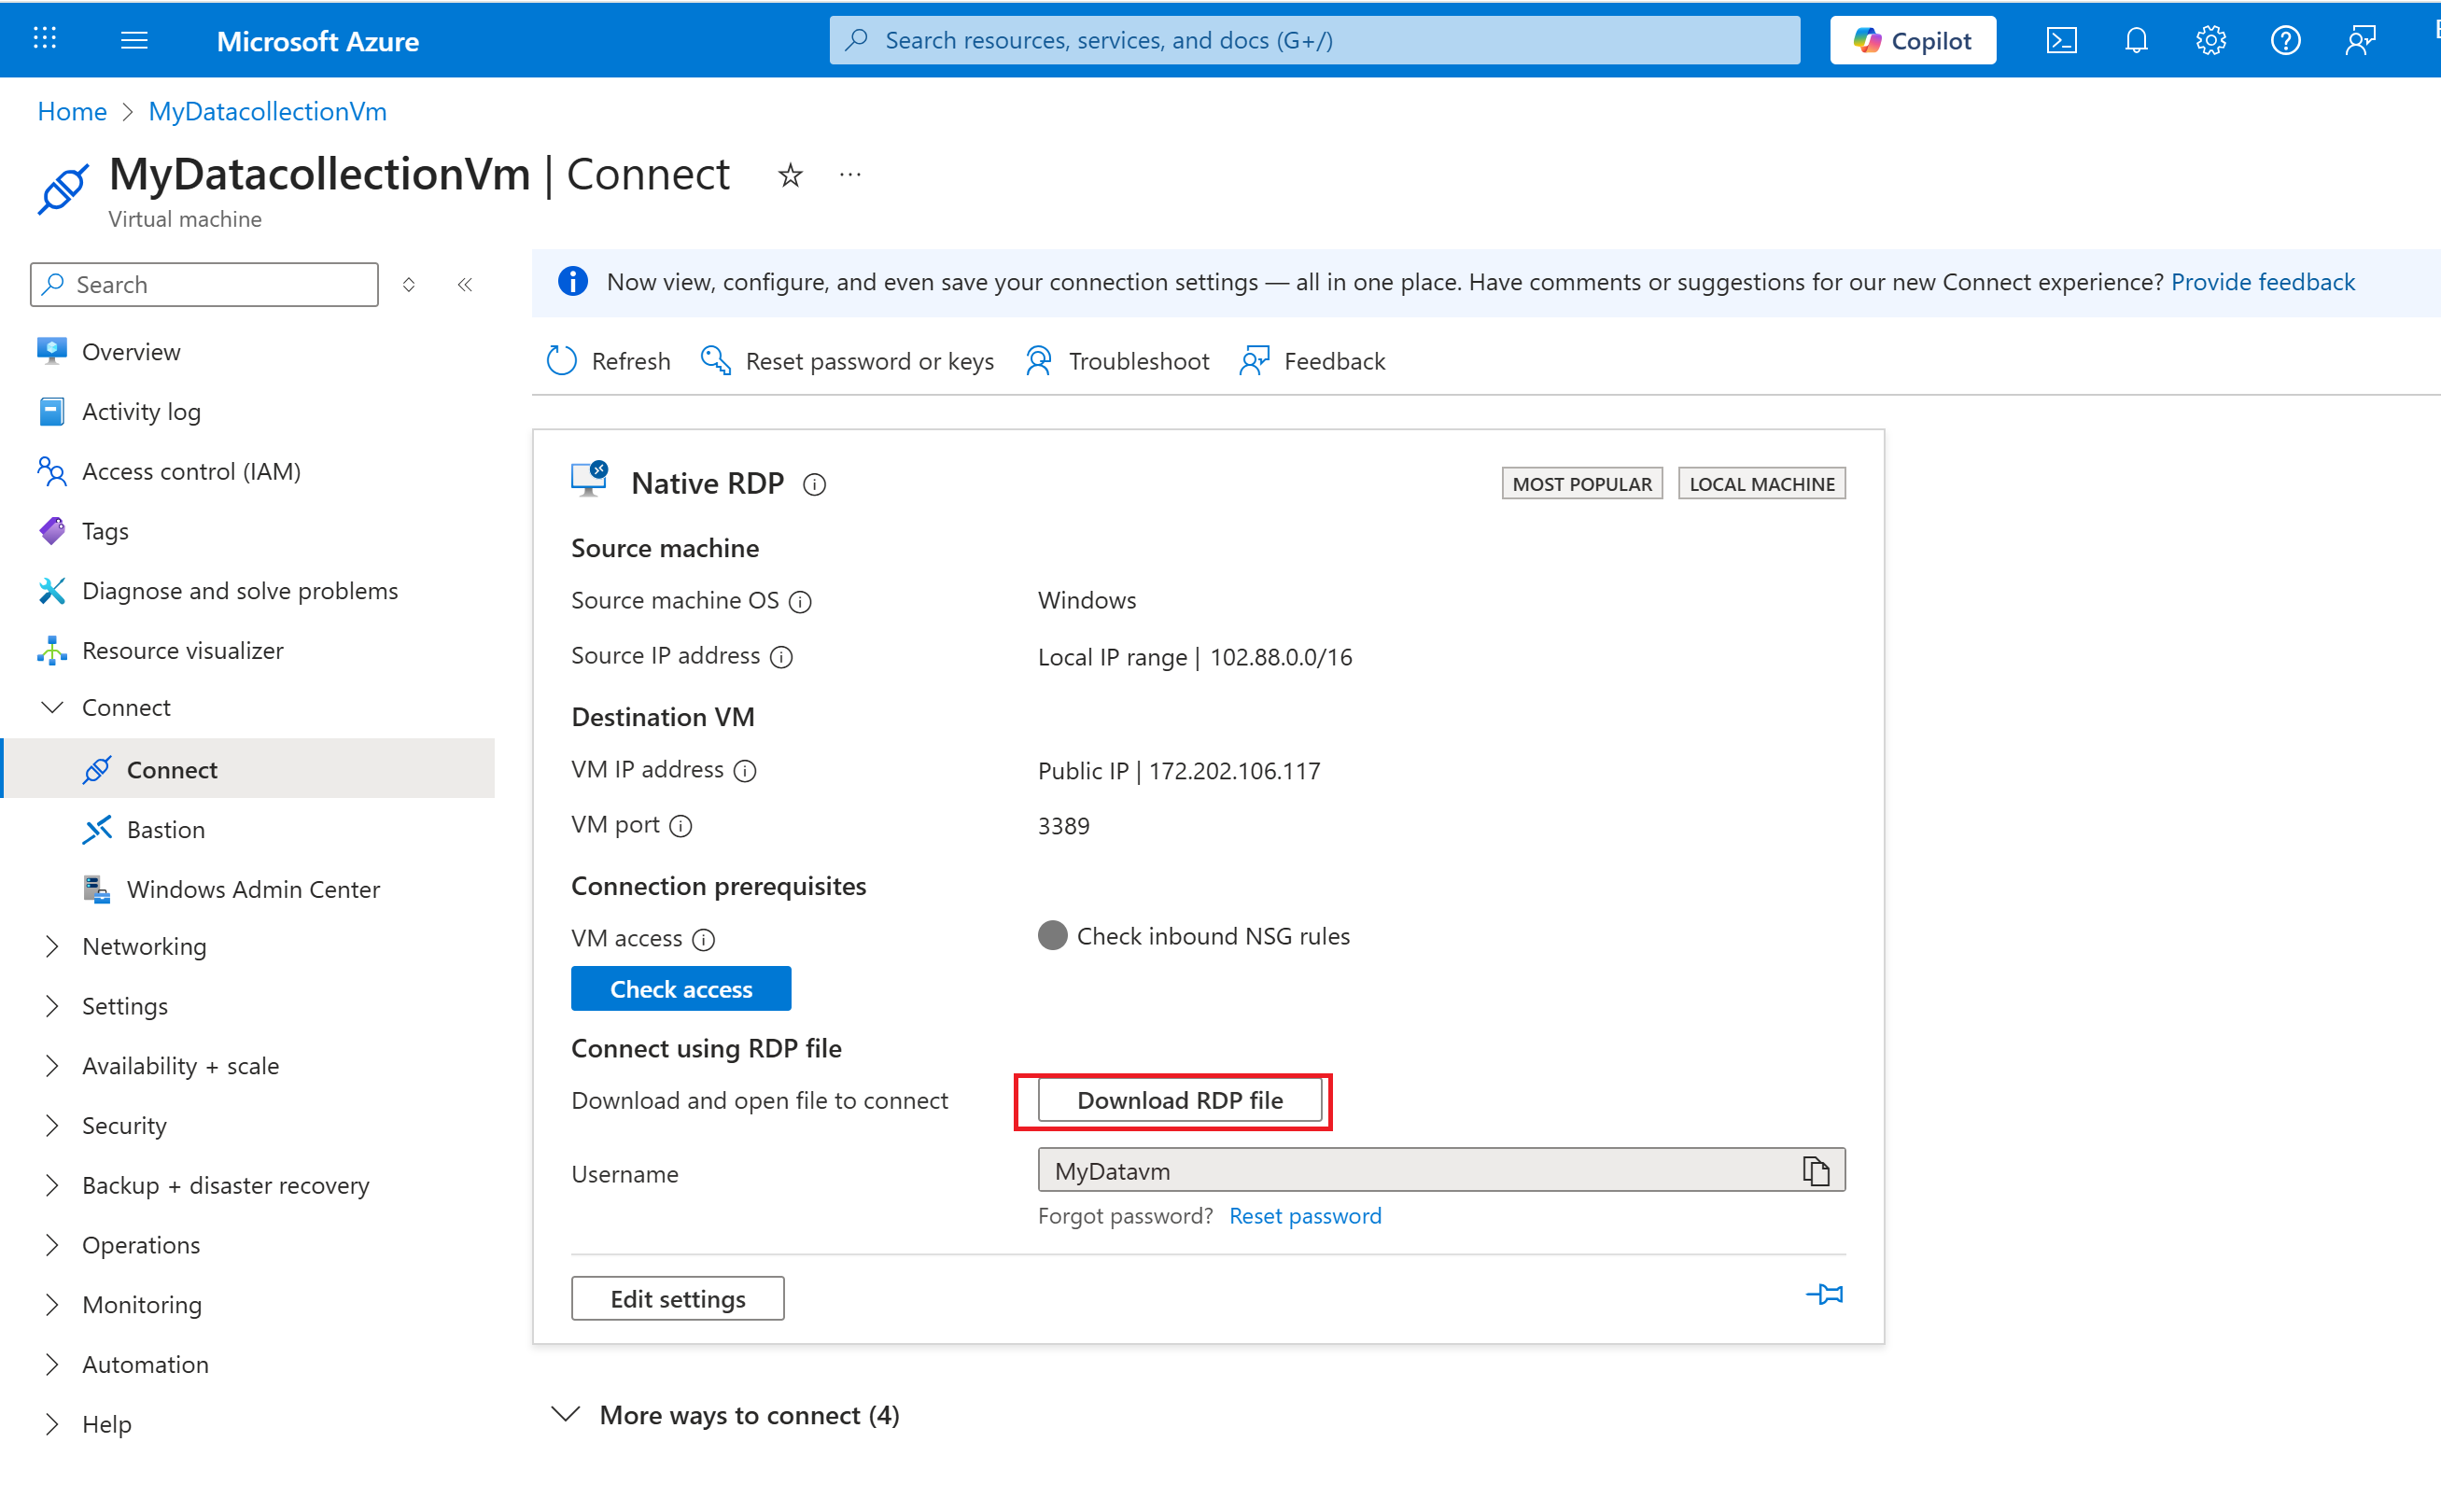
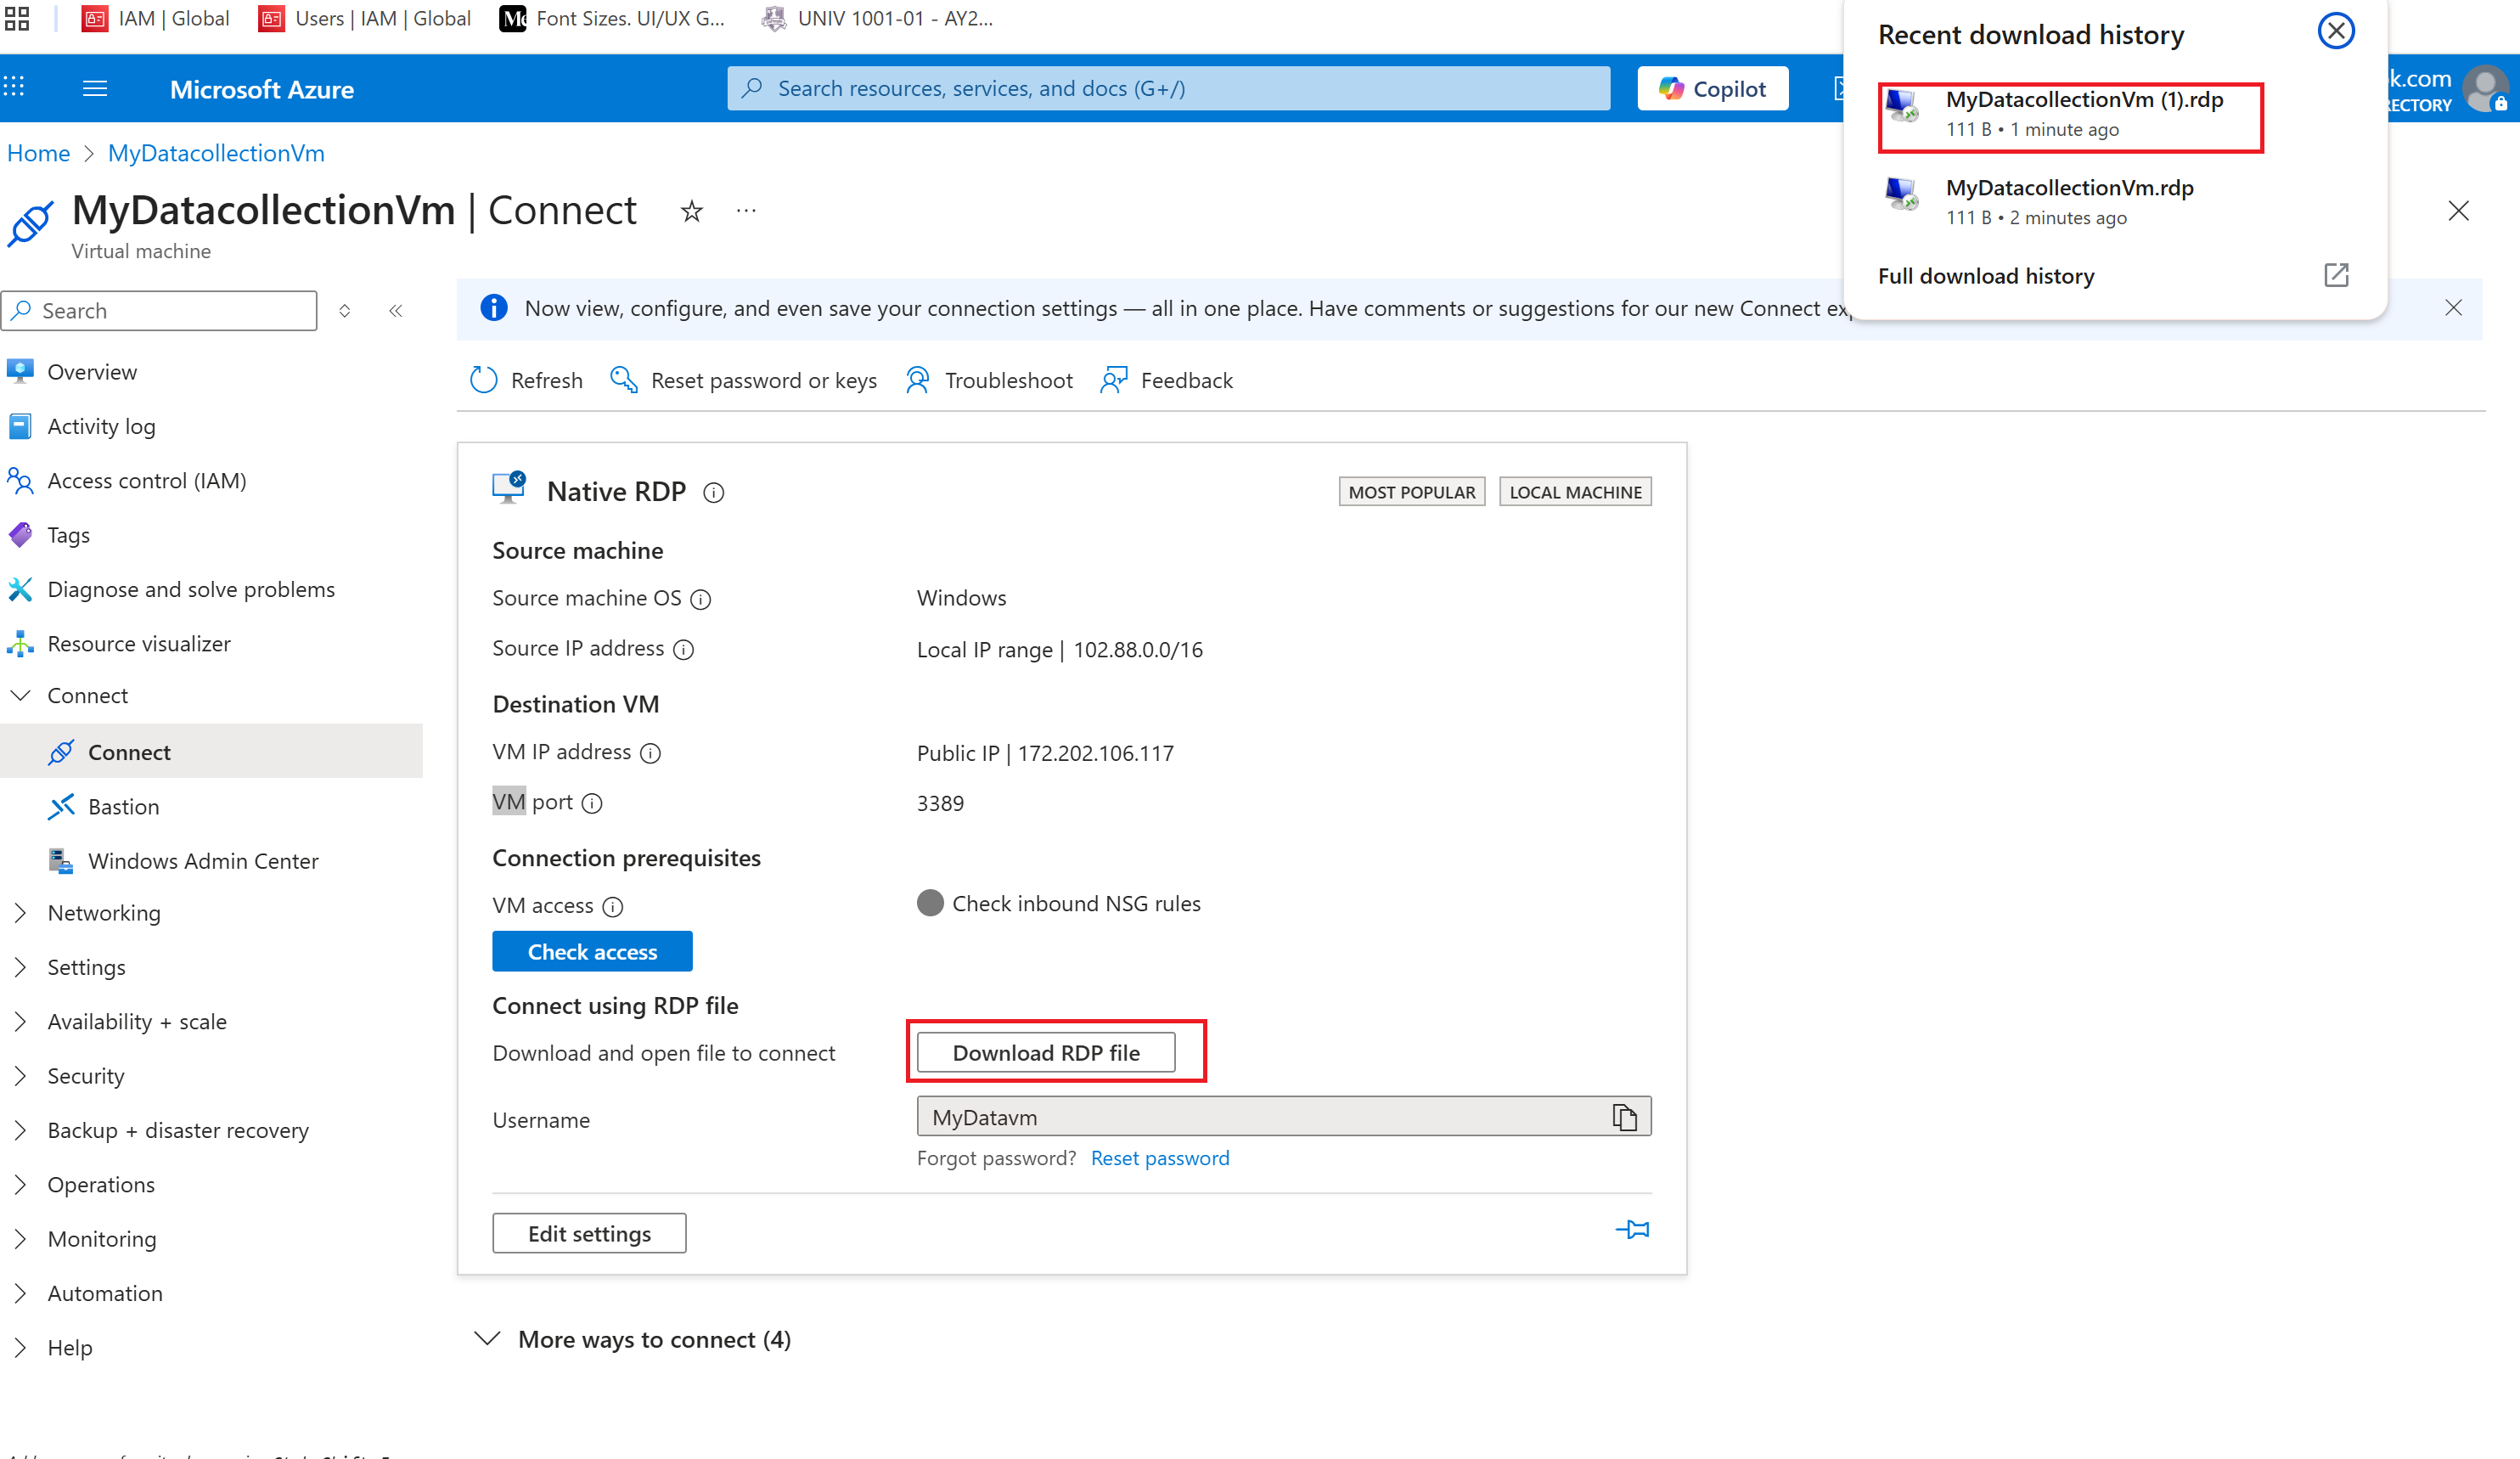
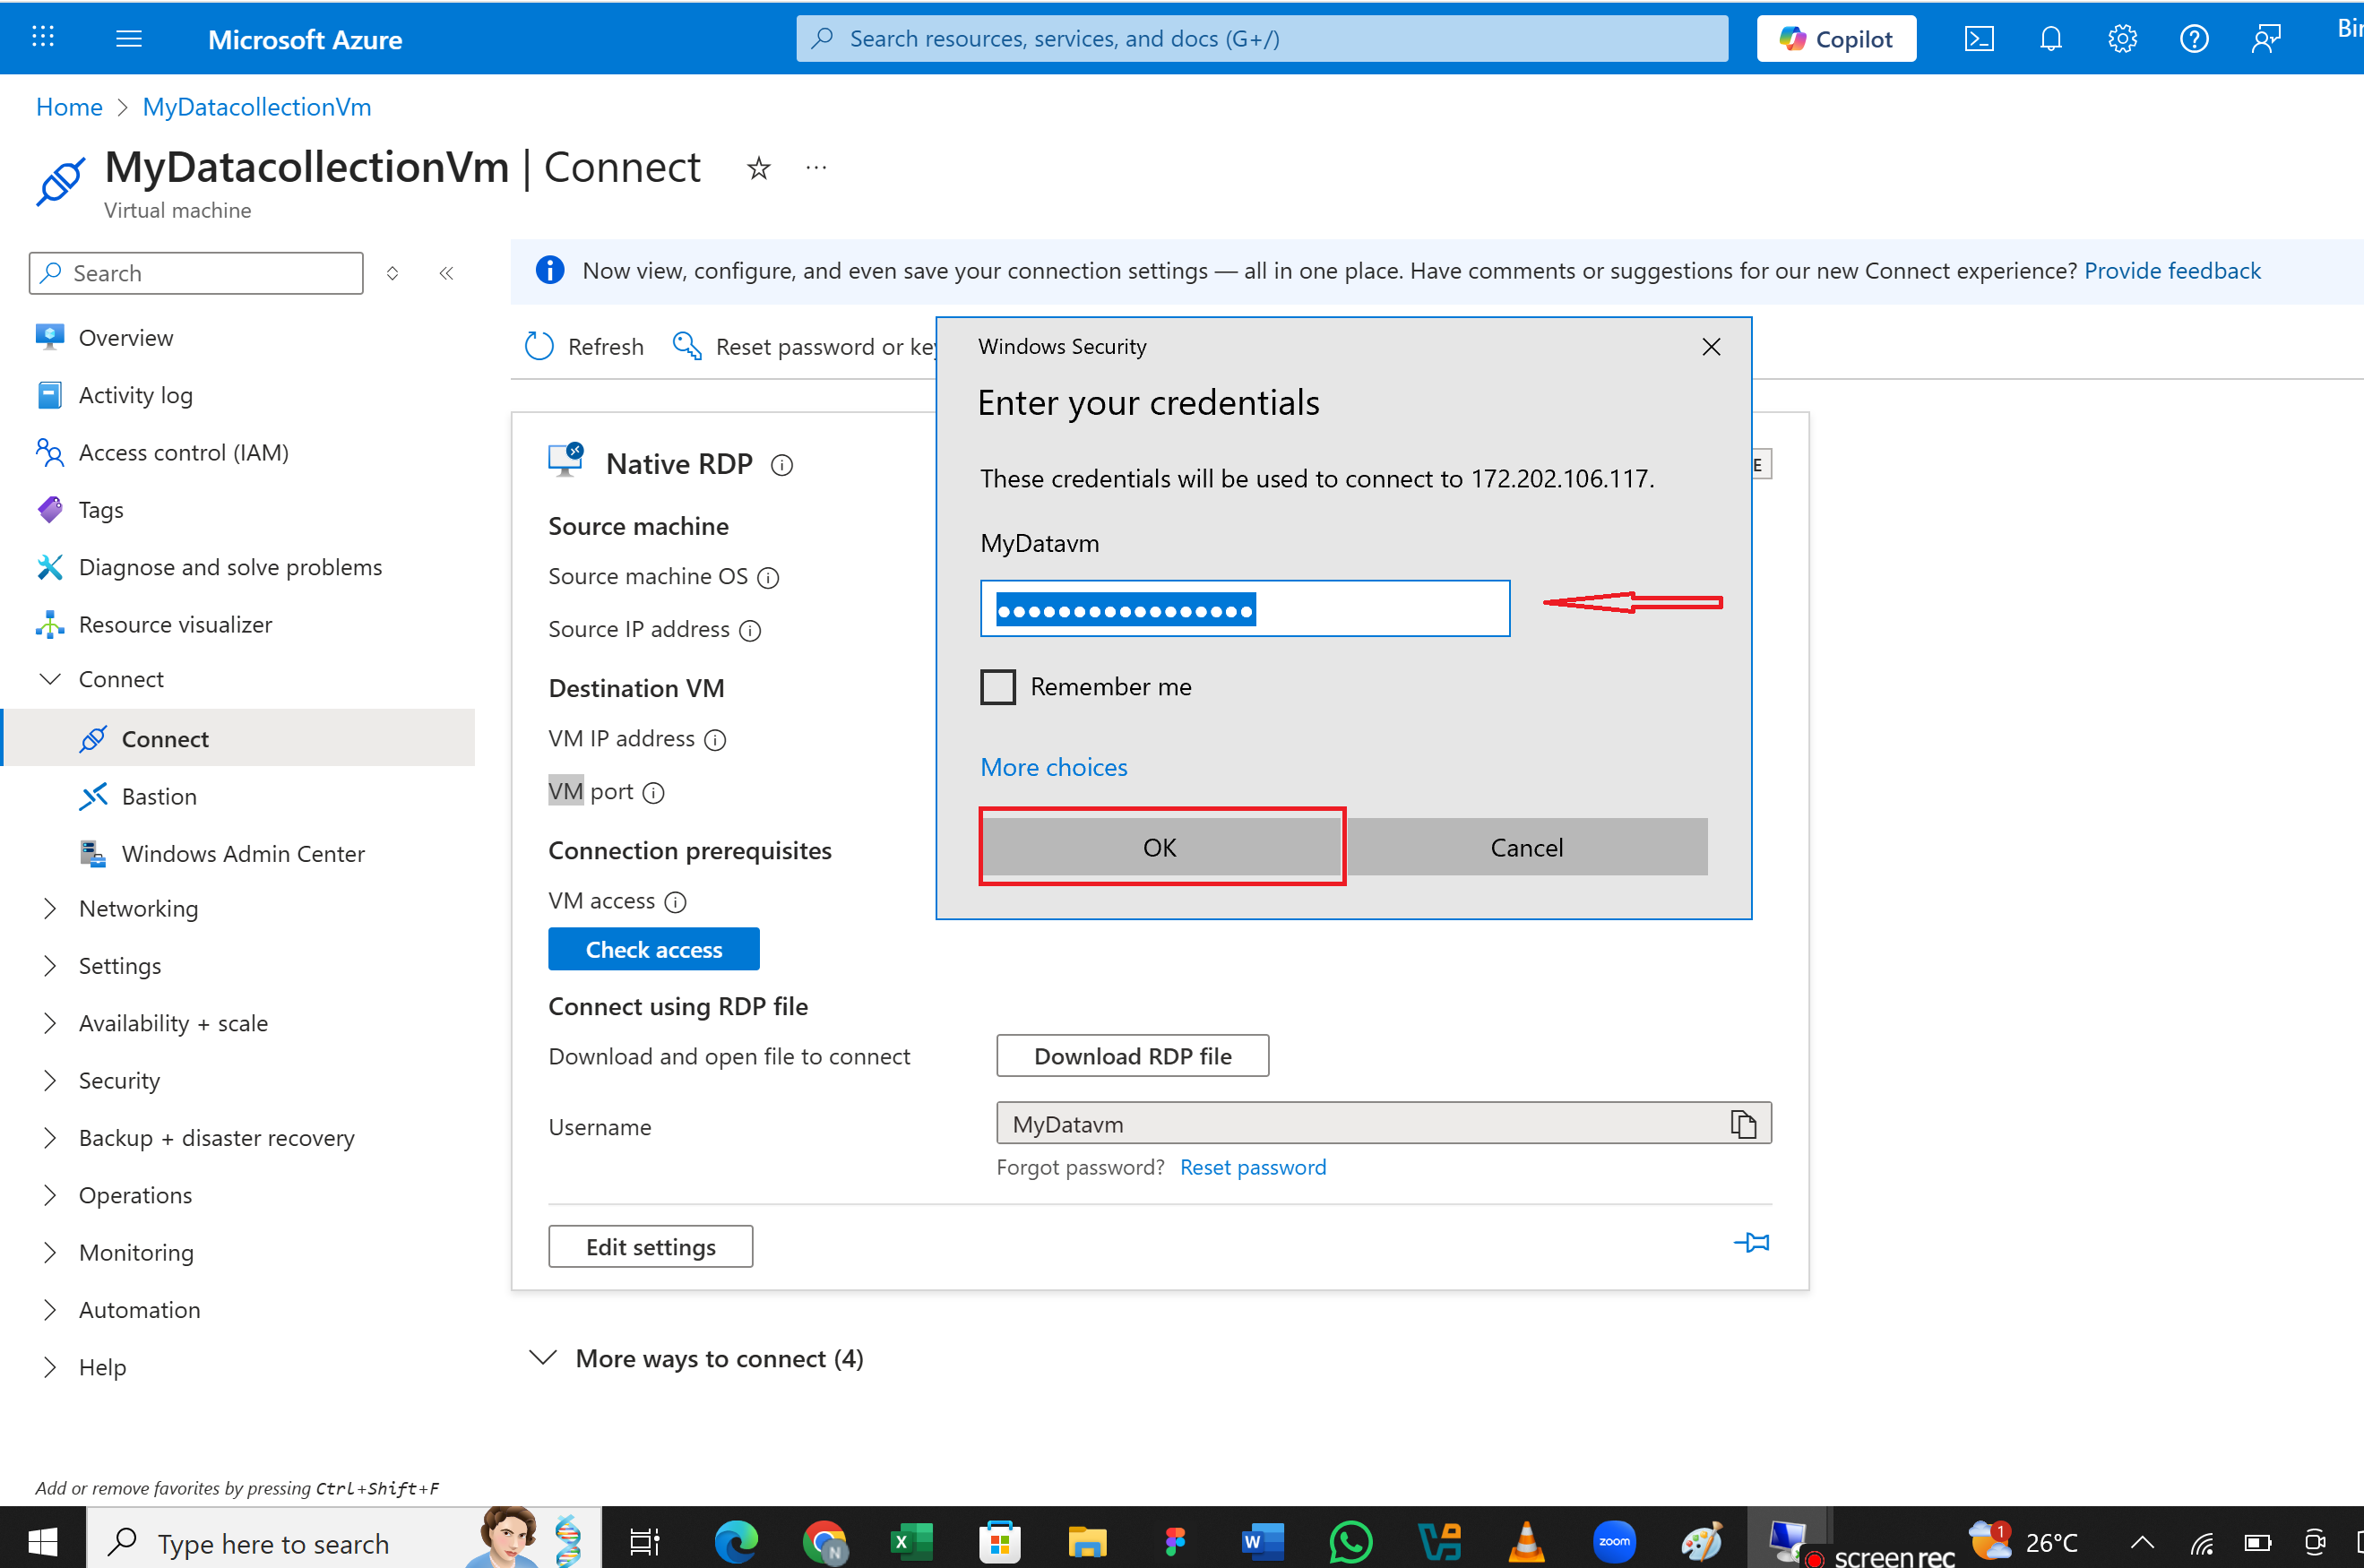
click on "Connect" button

- Enter your credentials when prompted.
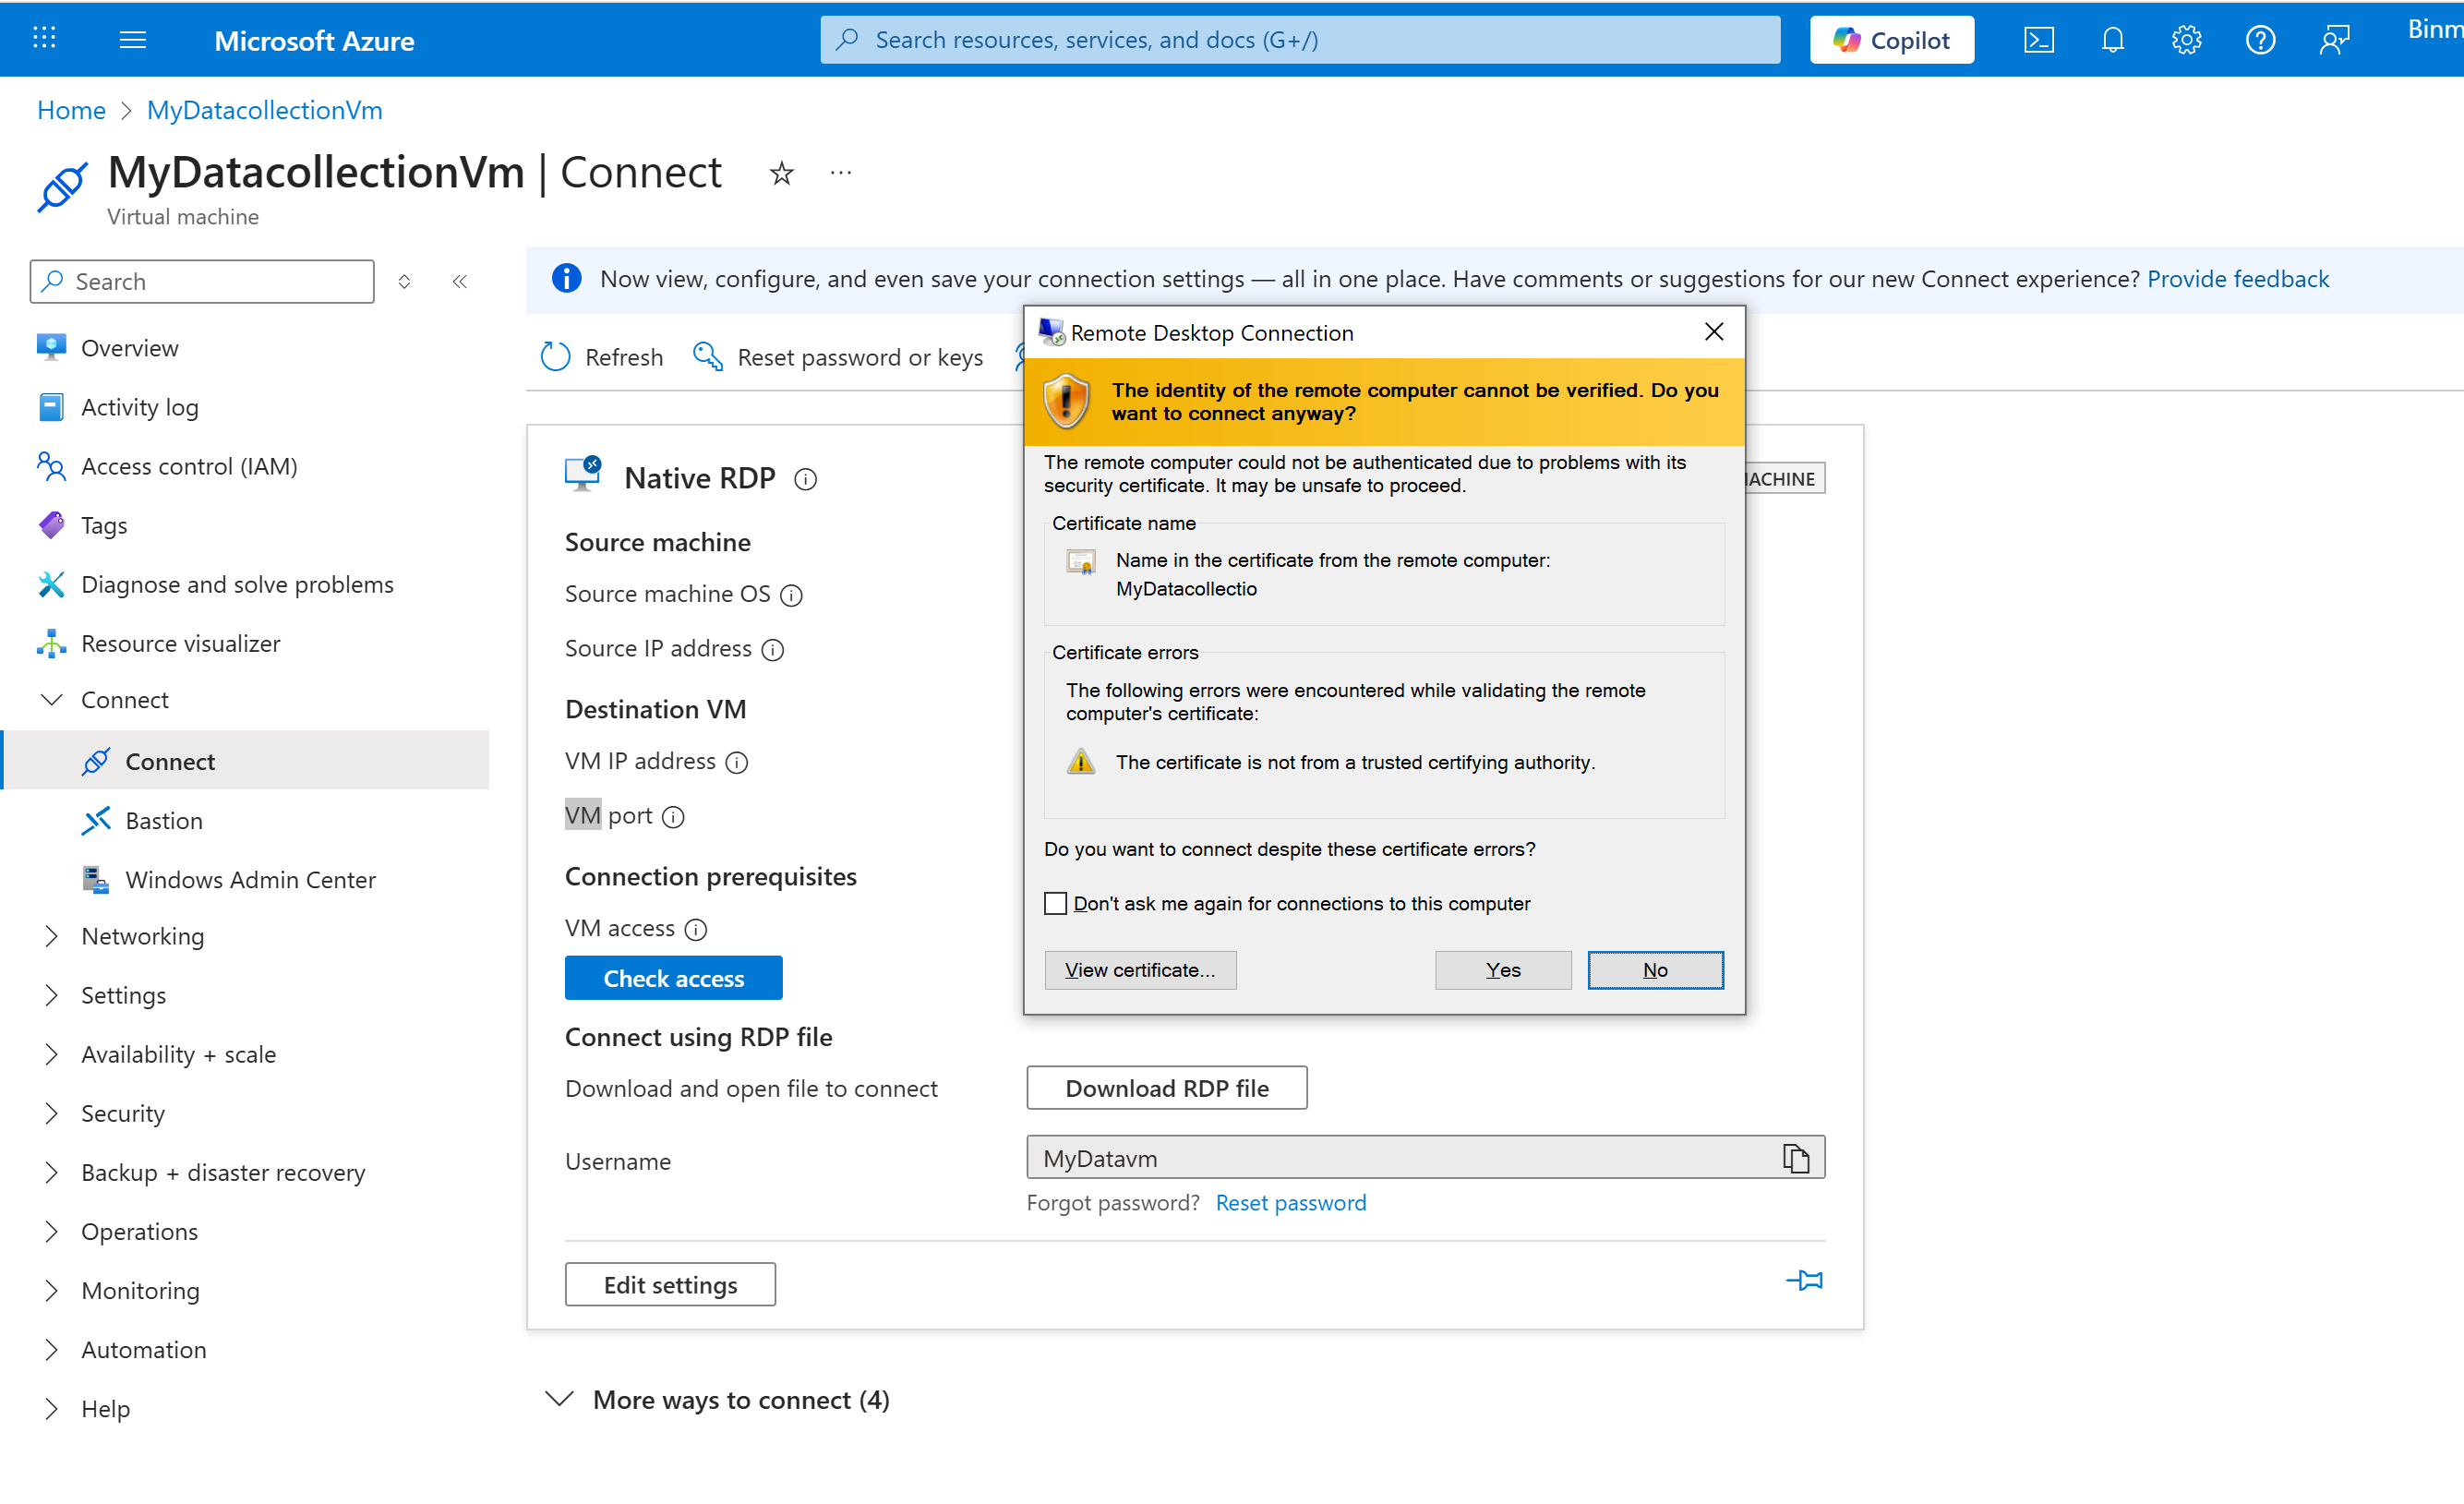
- Click "Yes" to verify the identity of the remote computer
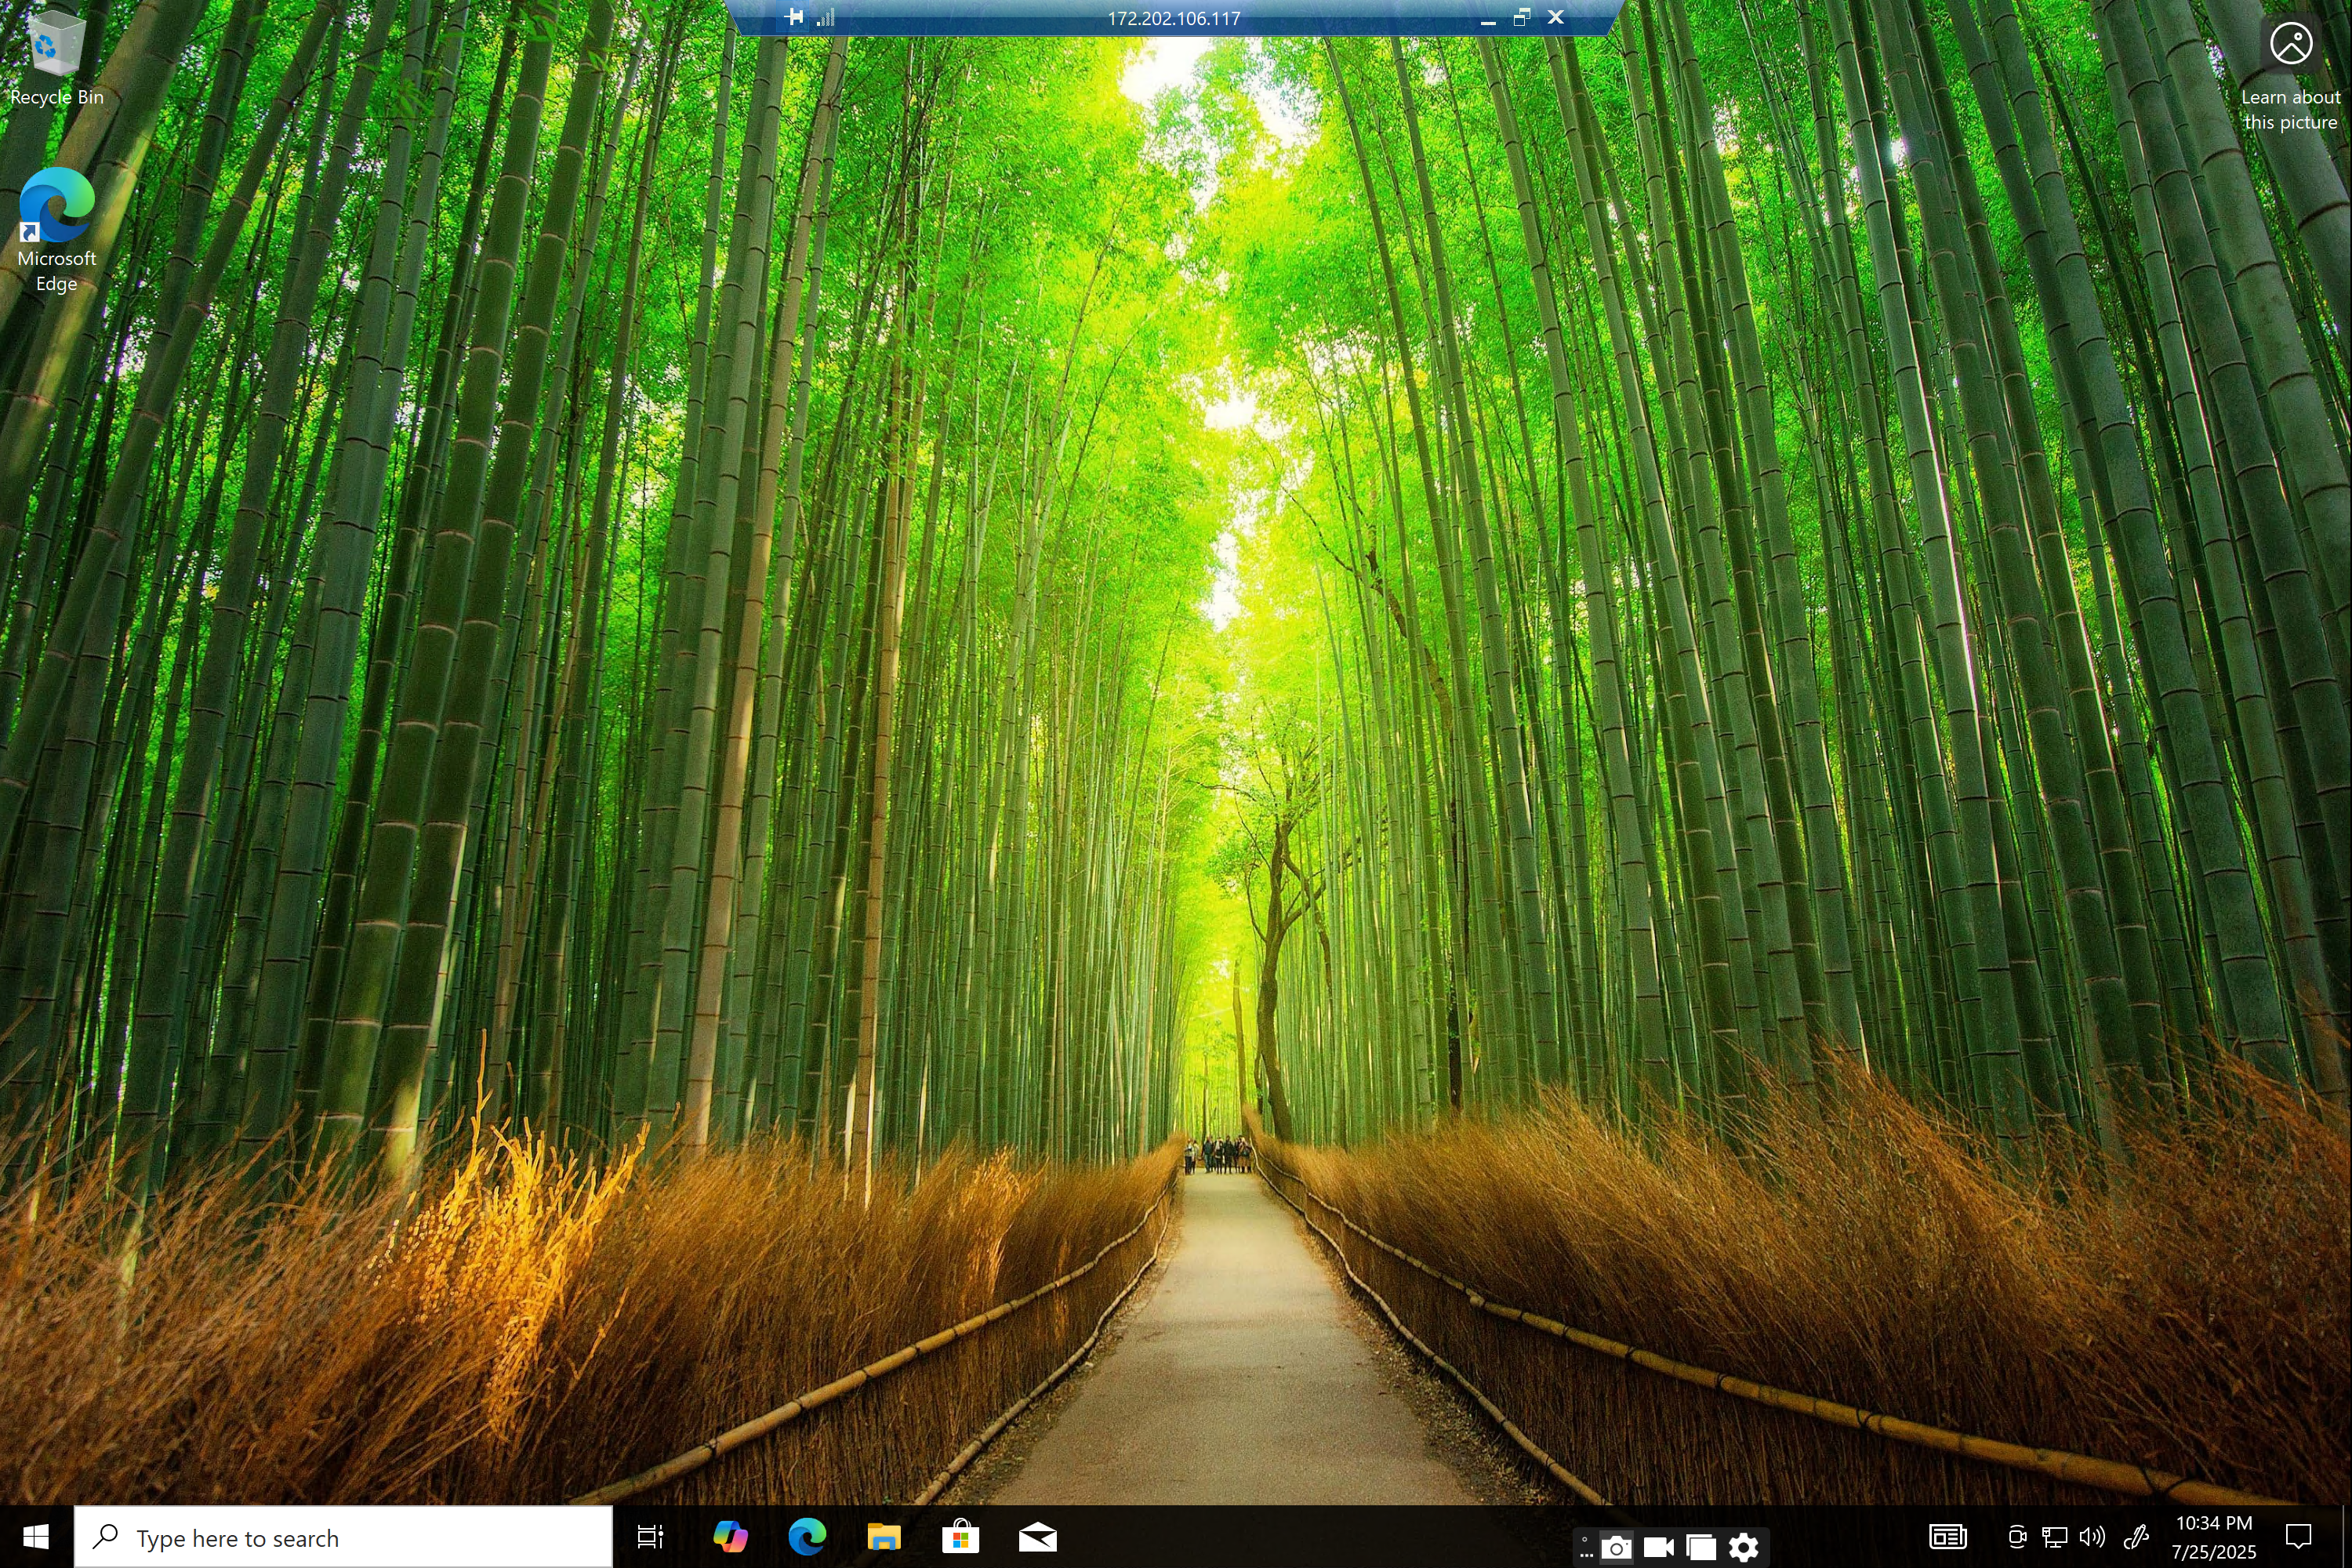
- virtual Machine has been successfully created.
Conclusion
A virtual machine is a powerful tool for running multiple operating systems on a single machine, improving efficiency, security, and flexibility. Whether you're using cloud platforms like Microsoft Azure or running local VMs with VirtualBox, VMs help optimize computing resources for various workloads.