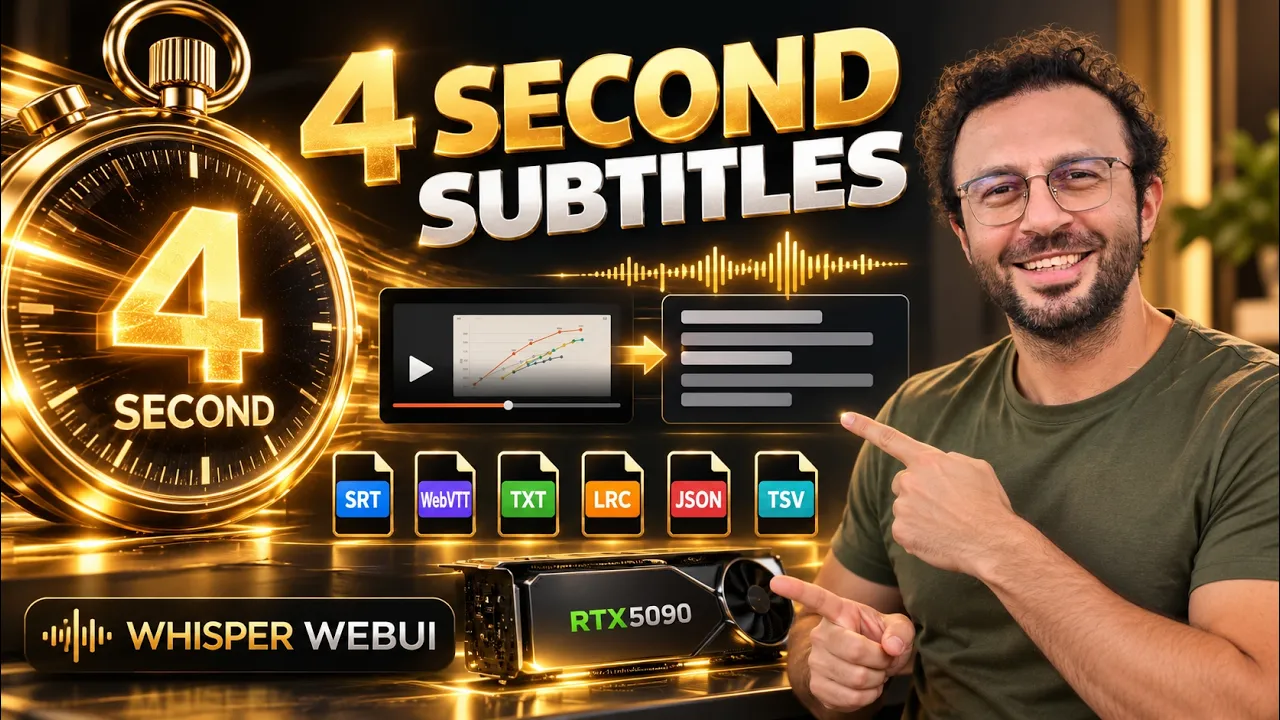
Whisper-WebUI Premium turns video and audio into subtitles, searchable transcripts and timed data on your own Windows PC. See a real 10-minute recording transcribed in 4 seconds, then follow the complete fresh installation and every main workflow. This tutorial covers all 3 engines, researched quality presets, automatic model downloads, 6 export formats, custom vocabulary, folder batches, YouTube sources, microphone recording, speaker labels, subtitle translation and voice/music separation.
Links:
Download Whisper-WebUI Premium and read the full feature guide: [ https://www.patreon.com/SECourses/posts/whisper-webui-to-145395299 ]
Windows Requirements tutorial: [ https://youtu.be/DrhUHnYfwC0 ]
You will learn how to download the latest ZIP, locate it in Chrome, move it to a permanent folder and extract the whole package. Read the Windows Requirements section and follow its linked setup tutorial first if needed. Use an English-character path without spaces, such as G:\whisper_tutorial. Run the Windows installer and app starter by double-clicking their BAT files or selecting them and pressing Enter; never run them as administrator. Keep the start window open while using the local browser interface. We then load a video by upload or full file path, choose a language and output formats, generate the first subtitles, and inspect the saved files and transcript. Use SRT for conventional video subtitles, WebVTT for compatible web players, and TXT for searching or rewriting the transcript. LRC, JSON and TSV keep timed information for other tools. Select several formats in the same run and inspect matching filenames in the outputs folder.
Main topics include multilingual Whisper and optimized models, Canary-Qwen for English speech, Insanely Fast Whisper, GPU-aware presets, INT8 ConvRot, PyTorch 2.13 and CUDA 13 precompiled packages. Save your own preset with vocabulary, reload its settings, reset engine defaults or delete a user preset. Inspect compute precision, beam search, prompts and hotwords, repetition and silence controls, batch size, model offloading, word timestamps and subtitle punctuation. See a long lecture result and stop a separate worker with Cancel Generation. The filter demonstrations cover background music removal, Silero voice detection and diarization for a two-man conversation. Batch Processing scans nested input folders, mirrors their structure in a separate output folder, skips existing results and offers deliberate overwrite. The YouTube tab reads a video link or processes recent videos from a channel. Live Mic previews incoming text; Record Then Generate creates subtitles after recording. Local NLLB translates an English SRT to Spanish while preserving all 10 cue timings and speaker labels; the DeepL API controls provide another route with your own key. BGM Separation saves individual voice and instrumental tracks. SRT, WebVTT, TXT, LRC, JSON and TSV can be selected together and downloaded in one ZIP. Finally, switch themes, open or close the settings panels, and follow the package update route.
Use the chapters to follow the fresh Windows install or jump straight to engines, presets, batch folders, speaker labels, microphone modes, translation and audio separation.
Chapters:
00:00:00 A ten-minute video subtitled in four seconds
00:01:09 See the transcript and choose the right exports
00:01:48 Download the ZIP and check Windows requirements
00:02:43 Move and extract the complete installer package
00:03:32 Fresh Windows installation with the BAT installer
00:04:46 Launch the app and make your first subtitles
00:07:10 Three engines and the long lecture result
00:09:20 Save and reload your own working preset
00:10:34 Useful advanced controls without rebuilding your setup
00:15:24 Music removal, voice detection and speaker labels
00:17:35 Transcribe nested folders and reuse finished outputs
00:19:10 Video links and whole-channel processing
00:20:16 Live preview and record-then-generate microphone modes
00:21:53 Translate subtitles and preserve their timings
00:23:10 Save separate voice and instrumental audio tracks
00:23:59 Updates, cloud support and the complete workflow
The opening result is a 10-minute 56-second recording completed in 4 seconds on an RTX 5090, using the Canary Qwen Best Quality preset, batch size 16 and the optimized Canary INT8 ConvRot model with the model and caches ready. The app reports the elapsed time and result on screen.
The package also supports RunPod, SimplePod and Massed Compute for cloud GPU workflows. This video teaches Windows installation and use; the included platform instructions cover those cloud routes.
Read the linked post for release notes, illustrated feature explanations and current downloads. The app link is also in the pinned comment. For questions, installation support, feature requests and feedback, use the post and video comments.
Whisper-WebUI Premium turns any video or audio into accurate subtitles and transcripts on your own PC. On an RTX 5090, our own INT8 ConvRot engine transcribed a 1 hour 29 minute lecture in 32 seconds. Every setting comes ready with researched best-quality presets. Below you will see every feature with real screenshots from the app.
Why Whisper-WebUI Premium
- Our own INT8 ConvRot engines: Whisper large-v3 runs 3.4x faster and NVIDIA Canary-Qwen 2.5B runs 8.9x faster than the standard models, on the same video and the same GPU.
- Same accuracy as the original models: measured through the app on 14 public English test sets, 48 hours of audio.
- Real speed: a 10 minute video in 9 seconds, a 1.5 hour lecture in 32 seconds.
- 3 engines in one app: Whisper, Insanely Fast Whisper and NVIDIA Canary-Qwen 2.5B, with 21 Whisper models and 100 languages.
- Ready presets: researched best-quality settings for every engine, plus your own saved presets.
- 6 output formats in one run: SRT, WebVTT, TXT, LRC, JSON and TSV, with a one-click ZIP download.
- Everything in one place: batch folders, YouTube links and whole channels, live microphone, speaker labels, background music remover, voice detection filter and subtitle translation to 200 languages.
- 1-click installers: Windows, RunPod, SimplePod, Massed Compute and Linux, with PyTorch 2.13, CUDA 13 and precompiled Flash Attention, xFormers, SageAttention and Triton.
- Automatic model downloads with live progress, frequent updates and support.
Here is the app right after a job. A 10 minute 54 second video was transcribed in 9 seconds, 70 times faster than real time.

1: pick a ready preset. 2: download all subtitle files in one ZIP. 3: preview your video instantly. 4: watch the transcription live. 5: choose from 3 engines and our INT8 ConvRot models.
Speed: Our INT8 ConvRot Engines
We built INT8 ConvRot versions of Whisper large-v3, Whisper large-v1 and NVIDIA Canary-Qwen 2.5B, and our own GPU engine to run them. The model files are smaller too: 1.6 GB instead of 3.1 GB for Whisper, and 2.9 GB instead of 5.1 GB for Canary-Qwen. Here is the same video on the same RTX 5090 with the same settings:

Long files are just as fast. Our 1 hour 29 minute lecture took 1 minute 15 seconds with our INT8 Whisper large-v3 (71x real time) and only 32 seconds with Canary-Qwen (168x real time). This is the Canary-Qwen run in CMD:

After each job the model waits in RAM and your VRAM is free. The next job moves it back to the GPU in under a second, so it starts right away.
Same Accuracy as the Original Models
Speed only matters with accuracy. We measured every model through the app on 14 public English test sets with human transcripts: 2,700 short clips and 120 long recordings, 48 hours in total.

On the Open ASR Leaderboard's 8 English test sets, our INT8 models reach the published accuracy of the full-precision originals. Canary-Qwen 2.5B scored 5.62% word error rate against the published 5.63%, and Whisper large-v3 scored 7.22% against 7.44%.
1-Click Installation
What You Download
You get one small zip file with the installers for every platform.

Extract it into any folder. On Windows, double-click Windows_Install_Update.bat, then start the app with Windows_Start_app.bat. Run the same installer again at any time to update.
Latest PyTorch, CUDA 13 and Precompiled Libraries
The installer makes its own Python 3.12 virtual environment, so your other apps stay untouched. It installs PyTorch 2.13 with CUDA 13 and our precompiled Flash Attention, xFormers, SageAttention and Triton for Windows. You never compile anything.

Every package version is tested with the app. This is the end of a real fresh install on our PC:

At the end, the installer downloads the speaker label models from our mirror. You do not need a Hugging Face token or any model approval.
Start the App
Double-click Windows_Start_app.bat. CMD shows every startup step with its time.

On our RTX 5090 the app was ready in 6.5 seconds. Open the local address in your browser and start transcribing.
Cloud GPUs: RunPod, SimplePod and Massed Compute
You can also run the app on a cloud GPU. The cloud installers set up Python 3.12, FFmpeg n9.0 and everything else with one command, and a Gradio share link lets you use the app from any device.
The step-by-step commands are in the instruction files inside the zip.
Requirements
On Windows you need Python 3.12, Git, FFmpeg, CUDA 13, cuDNN 9.17 and Visual Studio with C++ tools. This tutorial shows every step, and the same setup runs all our AI apps. The app runs on NVIDIA GPUs from the GTX 16 and RTX 20 series up to the RTX 50 series. Our INT8 ConvRot engines use the RTX 30 series and newer, and other GPUs switch to the standard models automatically.
Config Presets
Every engine comes with a locked best-quality preset. We researched each value on real test sets, so you get top results without changing a single setting.
Where to find it: Config Presets sits at the top of the page and stays there on every tab.

Open the Select Preset list to see every preset:

Change anything you like, type a name and click Save to keep your own preset. The app remembers your last preset and loads it at every start.
Three Engines and 21 Whisper Models
Choose the engine in Base Model: Whisper (faster-whisper), Insanely Fast Whisper (Transformers) or NVIDIA Canary-Qwen 2.5B. Each engine loads its best settings when you select it.
Where to find it: open the File tab and scroll to Base Model. The Model list is right under it, and the Youtube and Mic tabs have the same controls.


