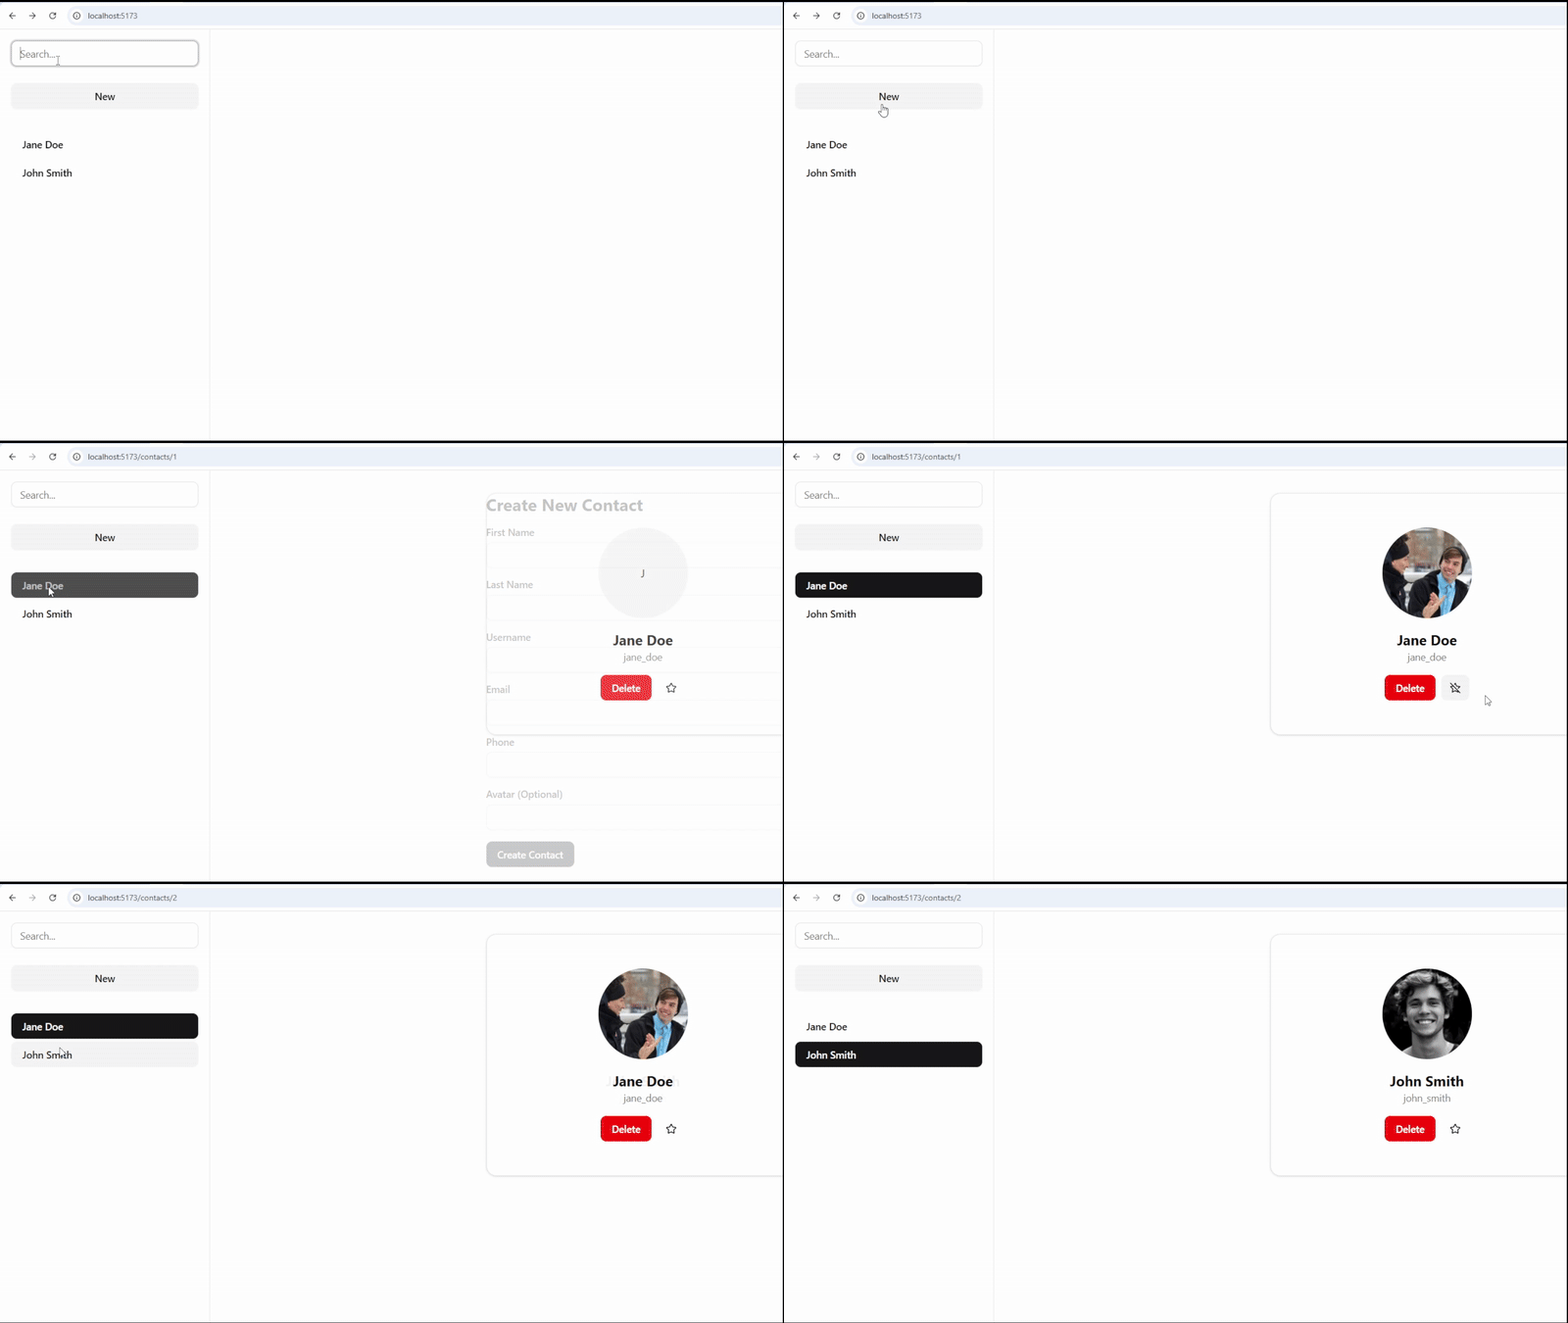
In this series, we will focus on the Data Mode, which is undoubtedly my favorite for creating well-structured and maintainable SPAs.
This series will have several parts, which you can see below:
- Installation and first routes
- Nested routes and Outlet
- Loaders
- Routes with parameters, useRouteLoaderData, and useParams
- useParams, Navlink
- Actions
- Multiple actions and form handling on a single page
- Form validation and useFetcher
- Optimistic UI with useFetcher
- Testing with Vitest and React Testing Library
All parts will be explained in this repository, which already comes prepared with some components and style libraries like shadcn/ui and Tailwind.
What are we going to build?
A contact application where we will practice nested routes, data loading and mutation, navigation, validations, etc.

Let's get started!
Installation and first routes
The first step is to clone the base repository.
In your terminal:
git clone *Emails are not allowed*:kevinccbsg/react-router-tutorial-devto.git
# Move to the initial tag
git checkout 00-init-project
Install the dependencies:
npm i
This project is created with Vite and has the shadcn/ui library integrated. We won't explain that part here, but if you'd like a tutorial on Vite + shadcn, let me know in the comments.
Now start the project:
npm run dev
You will see something very simple on the screen: an <h1> with the text "Welcome to React!". Let's change that and start using React Router (Data Mode).
Install React Router
Run:
npm i react-router
Create a new file called src/AppRoutes.tsx, which will contain our route configuration:
import { createBrowserRouter } from "react-router";

const AppRoutes = createBrowserRouter([
  {
    path: "/",
    element: <div>Home</div>,
  },
  {
    path: "/about",
    element: <div>About</div>,
  },
  {
    path: "*",
    element: <div>Not Found</div>,
  },
]);

export default AppRoutes;
Unlike the Declarative Mode (where we use <Routes> and <Route>), in Data Mode, we define routes as objects. Each object represents a route and can include elements like element, loader, action, etc.
In this example:
/ displays a simple "Home"/about displays "About"* captures any undefined route (what React Router calls a "splat") and displays "Not Found"
Connect the router with React
To activate React Router, we need to connect it in main.tsx. Edit the file as follows:
import { StrictMode } from 'react'
import { createRoot } from 'react-dom/client'
import './index.css'
import { RouterProvider } from "react-router";
import router from './AppRoutes';

createRoot(document.getElementById('root')!).render(
  <StrictMode>
    <RouterProvider router={router} />
  </StrictMode>,
);
Done! If you visit /, /about, or any other route, you should see the corresponding content.
What's next?
In the next part, we will build the real structure of the application, see how to use Outlet for nested routes, Link, and create a base layout.
See you in part 2.